Cricut machines are such a versatile tool to help empower you as a crafter and DIY enthusiast and to help you bring your creative visions to life with ease. Whether you're a seasoned crafter or a beginner looking to dive into the world of personalized crafting, learning how to get started with your Cricut machine is the key to unleashing your creativity. I've had various cutting machines since 2010, and there is always a learning curve. And of course, there's always a chance to learn more even if you already think you know what you are doing! So dive in with me and check out this ultimate guide to using your Cricut cutting machine!
The Ultimate Guide to Using a Cricut Machine
This comprehensive guide has everything you
need to embark on your Cricut journey and make the most of this amazing
crafting tool! It will definitely level up your crafting game!
Choosing the Right Cricut For
Your Crafting Needs
There are many kinds of Cricut machines on the
market, and finding the one best suited to your needs is tricky. If this is
your first time using any Cricut machine, check out my beginner’s guide here. Personally, I have
enjoyed using the portable Cricut Joy and the larger Cricut Explore Air series.
It’s helpful to have a few things in mind to help you make the right choice. Thinking about each of these points will help you find the Cricut machine that best fits you, and you can find the one that best suits your crafting needs.
●
How important is the size of the machine? Do you want it to be portable?
The Cricut Joy is very compact and can be taken out
and moved about your home for easy crafting, while other models, such as the Cricut Explore and Cricut Maker series, are
heavy and larger, so it would be hard to move them around easily. The Cricut Joy is great if you want something for quick cuts. It easily fits on a desk {think teacher sidekick!} or in a backpack {for students!}.
● What materials do you want to cut? One of the largest differences between each machine is the materials you can cut. Cricut Joy can cut over 50 materials, while the Explore Air 2 and Explore 3 can cut 100+ materials. The Cricut Maker series can cut 300+ materials, which might be excessive if you only get a Cricut for a specific craft in mind. Though the Maker would also be the only machine you'd need because it would do all.the.things.
●
What do you like to make? As with the
materials you can cut, different machines just do different things better. If
you are making large-scale projects with complex features, a machine with a
larger cutting width, such as the Cricut Maker, might be the best bet, however,
if you are making smaller compact projects, the Cricut Joy could be the best
fit. I use my Cricut Easypress for making everything from
hats to stickers, but that might not be your crafting style.
Something else to remember is that you might
not even need a Cricut AT ALL! I did a comparison review of a Silhouette and
Cricut machine to see how they compare! If you want to design, I think Silhouette still has the superior product. If you want something easy with ready made designs, Cricut is my favorite.
What Can You Make with a Cricut?
There are so many different types of crafts
that you can make with your Cricut, and these posts only brush the surface of
possibilities! From Back to School crafting, pet pajamas, or making face mask storage bags, there are so many
different ways each can be used!
See what I’ve been able to make with my own
Cricut machines!
Cricut
Joy
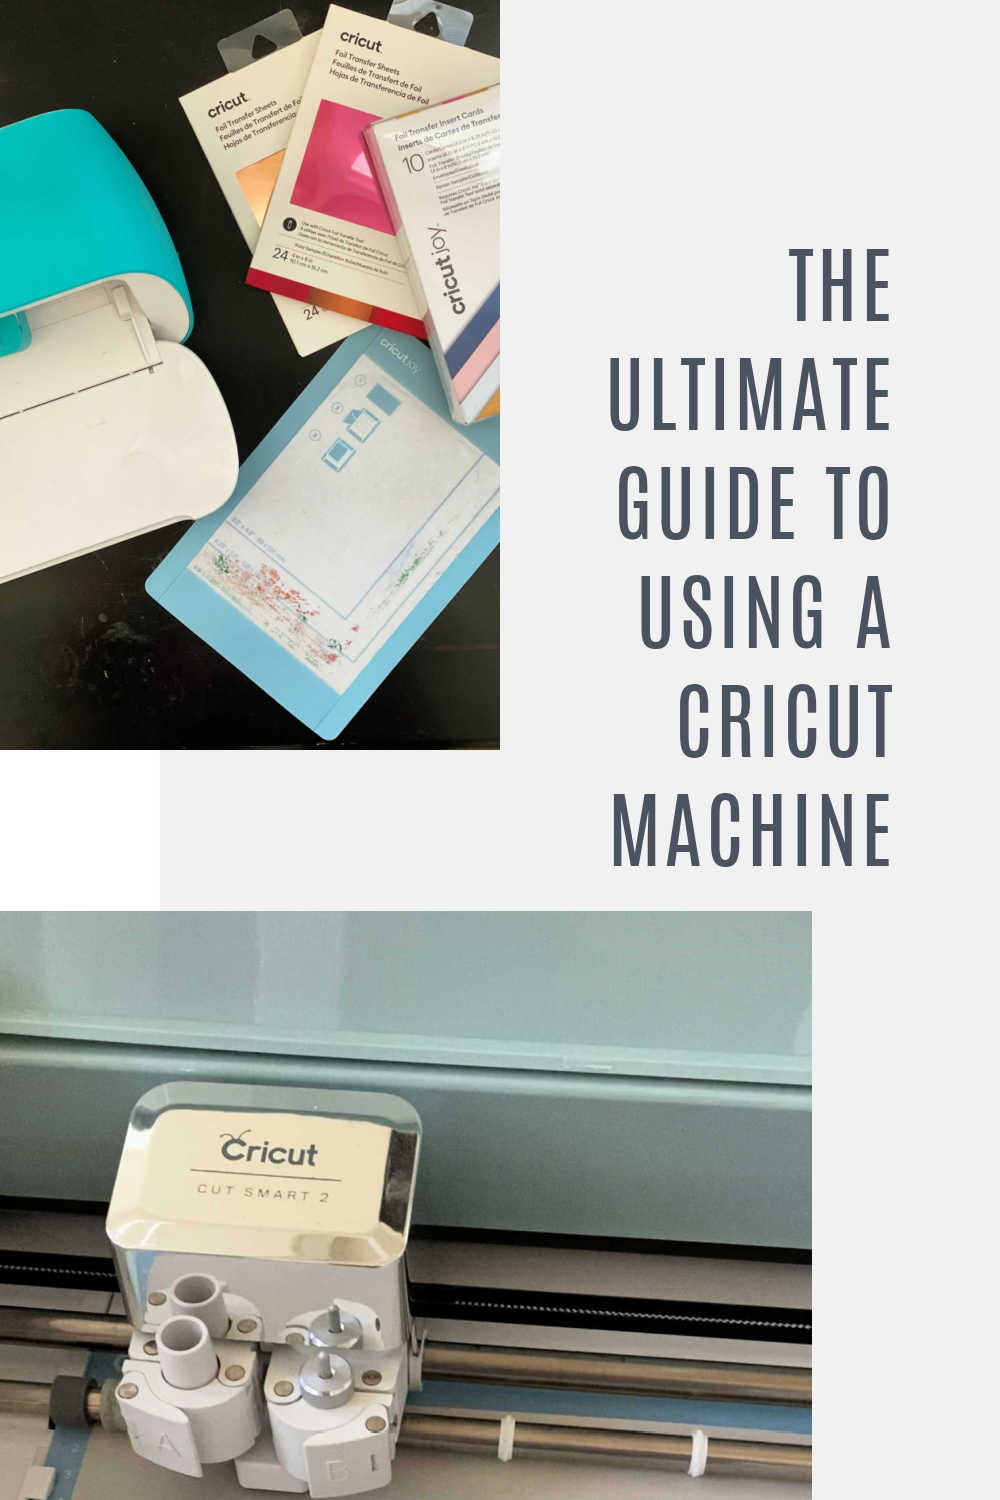
The Cricut Joy is very compact and one of my
favorite cutting machines. However, it isn’t the best for the job every time!
If you need something small and compact, this is my go-to! The downside is that you are limited in the size of your cut. But other than that, I think it's a small but mighty tool!
●
Personalized Picnic Backpack
●
Personalized DIY Love Letter Anniversary Box for Him
●
Easy Pet Fashion Personalized Bandana
●
Personalized Holiday Gift Using Handwriting
●
Three Little Things To Make with the Cricut Joy
●
DIY Removable Vinyl Wallpaper
●
How to Make Stickers Using the Cricut Joy
●
9 Tips for Using the New Cricut Joy Foil Transfer Tool
Cricut
Explore Air
I primarily use this Cricut machine for larger
projects that require a larger cutting area. These are great for longer cuts or
batch-making items for DIY projects or gifts.
●
How to Make Your Own Vintage Style Varsity Sweatshirt
●
DIY Patio Update on a Budget
●
Must-Have Thrift Store Decor Finds to Create with the
Cricut Explore Air 2
Tips and Tricks for Cricut
Machine Success
Your Cricut machine is a versatile tool, but
maximizing its potential requires a bit of know-how and creativity. Whether
you're a beginner or a seasoned crafter, these tips and tricks will help you
make the most of your Cricut machine and take your crafting projects to the
next level.
Familiarize Yourself with Your Materials
Understanding the materials you'll be working
with is essential. Each material (vinyl, cardstock, fabric, etc.) has unique
characteristics and requires specific settings on your Cricut machine. Consult
the Cricut Design Space Material Settings Guide to ensure accurate cuts and
prevent mistakes.
Keep Your Blades Sharp
A dull blade can lead to uneven cuts and torn
materials. Regularly inspect your blade; if it shows signs of wear, replace it.
Having a sharp blade is crucial for precise and clean cuts. They aren't too expensive to replace, so keep a spare one handy.
Use the Correct Cutting Mat
Cricut offers various cutting mats designed
for different materials and purposes. Always select the appropriate mat for
your project to ensure your material adheres properly and doesn't shift during
cutting. I actually like the 12x24 cutting mats because they are so versatile. If I'm cutting smaller items, you can still use the long mat. And if your mat starts to not get sticky anymore on one side, you can flip it around and use the other side to cut!
Test Cuts Are Your Friend
Before cutting your full design, perform a
test cut on a small piece of your chosen material. This allows you to adjust
settings if necessary and avoid wasting materials. When in doubt, use more pressure!
Optimize Placement on the Mat
Position your design on the cutting mat strategically
to minimize material waste. This is especially important when working with
expensive or limited materials. Sometimes this does take some maneuvering when you get to the cut page. You can manually move the design using your mouse. Just make sure it stays within the red cut lined area.
Use Transfer Tape Effectively
Transfer tape is essential for transferring
vinyl designs to your desired surface. To prevent bubbles or wrinkles, apply
the transfer tape slowly and evenly while smoothing it out with a scraper tool. I actually don't like the Cricut brand transfer tape. I think it's too sticky. My favorite is clear Contact paper. I can sometimes find it at the dollar store.
Layering Vinyl
For multi-layer vinyl projects, cut and apply
each layer separately. Use registration marks (small dots or lines) to align
the layers accurately.
Explore Cricut Access
Cricut Access provides a vast library of
fonts, images, and projects for a monthly fee. It's a valuable resource for
expanding your design options and saving money on individual purchases. I honestly think that Cricut works best with Cricut Access. The design function isn't as easy as I think it should be, and Access allows you thousands of images that are very easy to use and make your own. They even have images that are editable now, making it even more user friendly.
Keep Spare Mats and Blades
Having spare cutting mats and blades on hand
is a smart idea. This way, you can continue crafting without interruption if
your current mat loses its stickiness or your blade needs replacement.
Learn from Others
Join online Cricut communities, watch tutorials,
and engage with fellow crafters on social media platforms. Learning from
others' experiences and sharing your own tips and tricks can be incredibly
helpful.
Whether you're looking to create unique gifts,
enhance your home decor, or even turn your crafting hobby into a business, the
Cricut is a valuable ally on your creative journey.


No comments
Post a Comment