Last year, we remodeled the whole downstairs of our home. We updated the orange wood tones that were all over the house with a much more neutral look. If you've ever done a home remodel, you know that you are basically just bleeding money for months on end. And when our remodel stalled and we had to fire our contractor, we weren't sure how we were going to move forward with a new plan and how much that was going to cost us. Being on the frugal side of things anyway, I like to buy cheap and save the difference. But I was willing to splurge on a few things, a new table being one of them! After searching around and not being able to stomach the many thousands of dollars a new table was going to cost, I started looking into some DIY options. I came full circle, and while it took me buying and refinishing about five tables, I finally settled on two that I absolutely love for our dining room and kitchen nook. And in the process, I learned a lot of lessons on how to bleach furniture to get the coveted raw wood look that's so hot right now. Here is what I learned.

How to Bleach Furniture to Get the Raw Wood Look
Where to Start: Finding Furniture to Refinish
I grew up in a home that was built in the 1800's! I love old architecture. You know when you tour a fixer upper or an old home sometimes you'll hear people say "it's got good bones". This is the same way to look for furniture that you can bleach. You are going to want to start with a good solid wood piece of furniture. If a dresser looks like it's from IKEA, or if it's got those random cutouts the back of an old TV can fit in, it's probably not solid wood!
I like to find good solid pieces from reputable brands like Ethan Allen, Henredon, and Drexel Heritage. There are plenty more, but those are my favorites to start with. Furniture is often marked by the manufacturer in drawers or on the back or underside of the piece. The goal is to find a solid piece of furniture made of wood to use. I look for them at thrift shops, on Facebook Marketplace, at garage sales, you name it!
Heck, you might even have a piece in your home that you love the looks of, but don't love the color anymore. When I went to pick up the table I'm using in my kitchen, a piece I found on Facebook Marketplace, the seller said to me "it's got such a great shape, and it's solid, it's just an unfortunate color!" Not to worry, we can fix that!
Know What You are Looking For!
You might have to start your hunt in a furniture store or online to find out what you like. I don't know if I knew what a trestle table was, but after walking into a local furniture store and seeing the style of the table I loved, I immediately knew the style of table I was looking for. I started using "trestle" in my online search. Can You Strip a Furniture Piece with Wood Veneer?
You guys, I'm not going to lie, my husband and I had a heated conversation about the difference between solid wood and veneer furniture. It was a hill both of us were willing to die on, so the conversation lasted for far longer than was necessary. Here's where we got hung up...there are two kinds of veneers. There is solid wood veneer and there is a laminate veneer. Skip anything that is a laminate veneer!
But the answer is yes, you can strip and bleach a furniture piece made with wood veneer.
What is a Veneer?
A wood veneer is just a bunch of thin slices of wood pieced on to the furniture through glueing or pressing. This often means that the piece isn't fully solid, but instead just the surface of the piece is. Laminate isn't wood, it's often a picture of wood that's attached to the furniture piece. You don't want a laminate piece! You can sand a furniture piece that's made with veneer, you just have to be careful that you don't sand it too much!
Should I Use Citristrip or Bleach?
I used both! I honestly think that the Citristrip worked best followed by a bleach wash, so plan on using them both.
Citristrip is great if you have a painted piece of furniture or if the piece has a varnish or lacquer on it. I used Citristrip on my heavily lacquered vintage Ethan Allen dining room table. After I used the Citristrip, I used bleach to finish it off and get that raw wood look. I've also finished a piece of furniture using Easy Off Oven Cleaner.
Citristrip or Easy Off Oven Cleaner?
I'll cover the Easy Off oven cleaner process another day. I actually have a video of it on my Instagram. The Citristrip process took twice as long as the Easy Off process. If I had to pick one over the other, I'd go with the Easy Off. But if your furniture piece is painted, or it has a heavy finish on it, start with the Citristrip and follow the directions on the bottle. I think the best way to finish off a piece after you get down to the wood, is by bleaching it, either with bleach or with the Easy Off. I'm no chemist, but I think that the bleach works great when following the Citristrip, so go with that and consider them a pair like peanut butter and jelly or eggs and bacon.
Start by Sanding
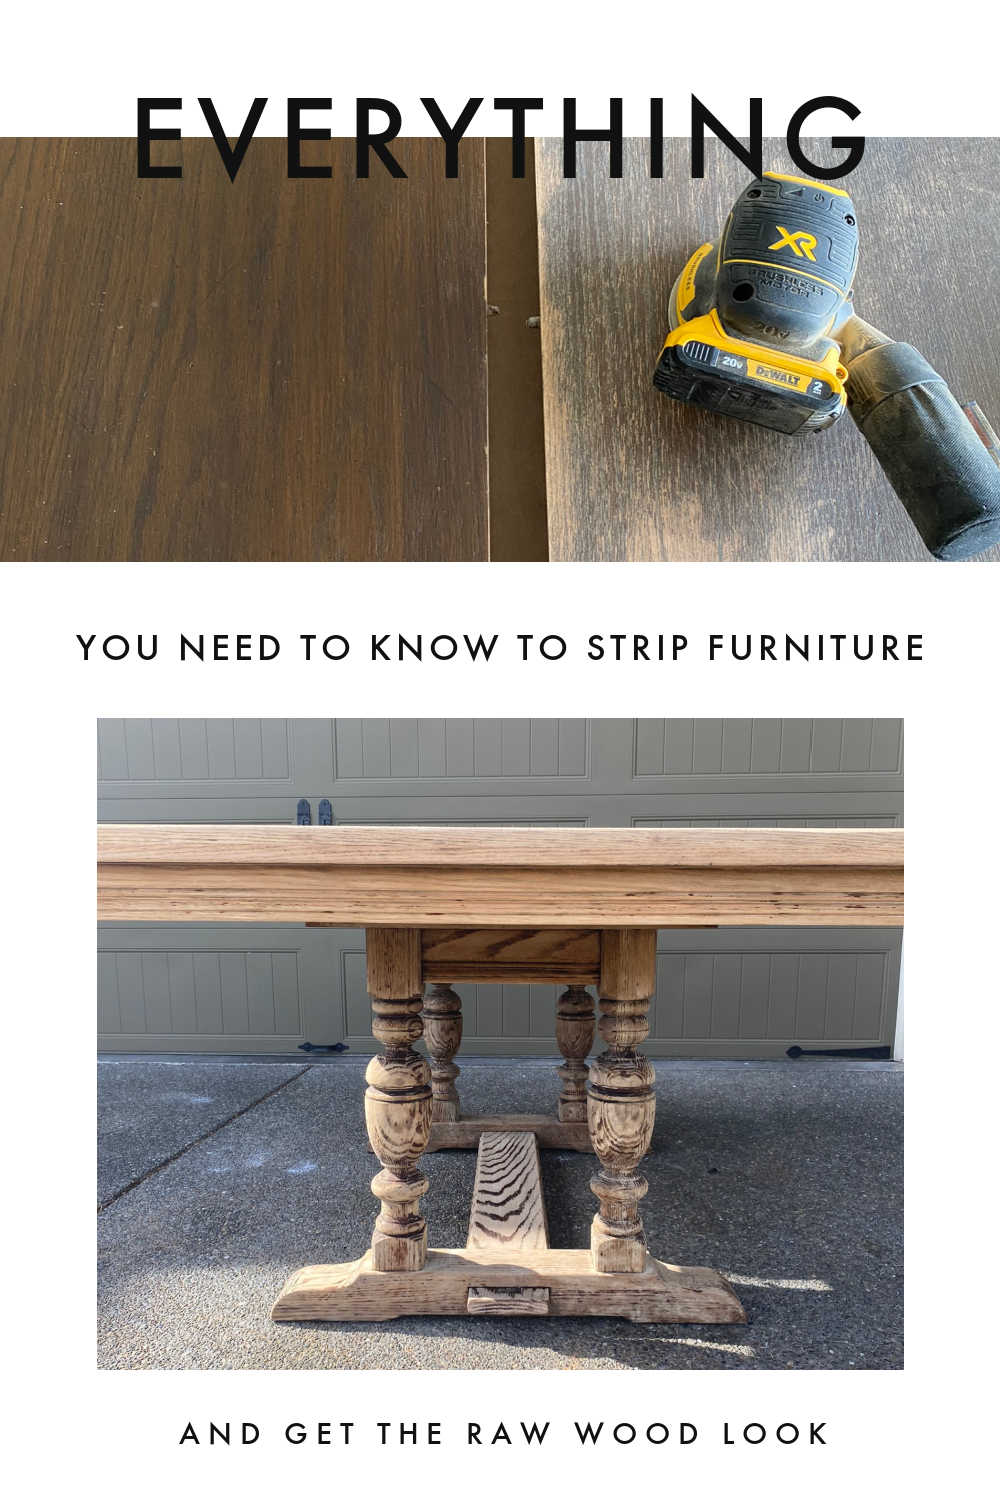
Most furniture pieces have a finish on top. Even if it is just a neutral top coat. You want to start by sanding the furniture down. This not only gives your bleach a good place to adhere to, it also helps clean up your furniture piece.
I use an orbital sander and it is probably one of my favorite tools. I hate sanding. It's like nails on a chalkboard for me, and this tool actually does the job for me without making me want to cringe the whole time! I buy a multi-pack of sandpaper and usually use the 120 or 140 grit.
After sanding, use a clean dry brush and a dry paper towel to wipe off the sand paper residue. I sometimes even blow it off with my leaf blower!
Pro tip: Let me take a second to talk about interchangeable batteries. Both my orbital sander and leaf blower, are the same brand. They use the same battery pack and it makes life so easy! My husband actually started doing this on purpose and it's life changing. His power tools are all the same brand and use the same battery packs, so it makes everything VERY easy to use.
Tips for Using Citristrip
Always follow the manufacturer's directions. But here are a few tips I learned from using Citristrip.
Take your furniture piece into a well ventilated area. Preferably outside!
Wear gloves {have a pack of these on hand and they will last you years!}
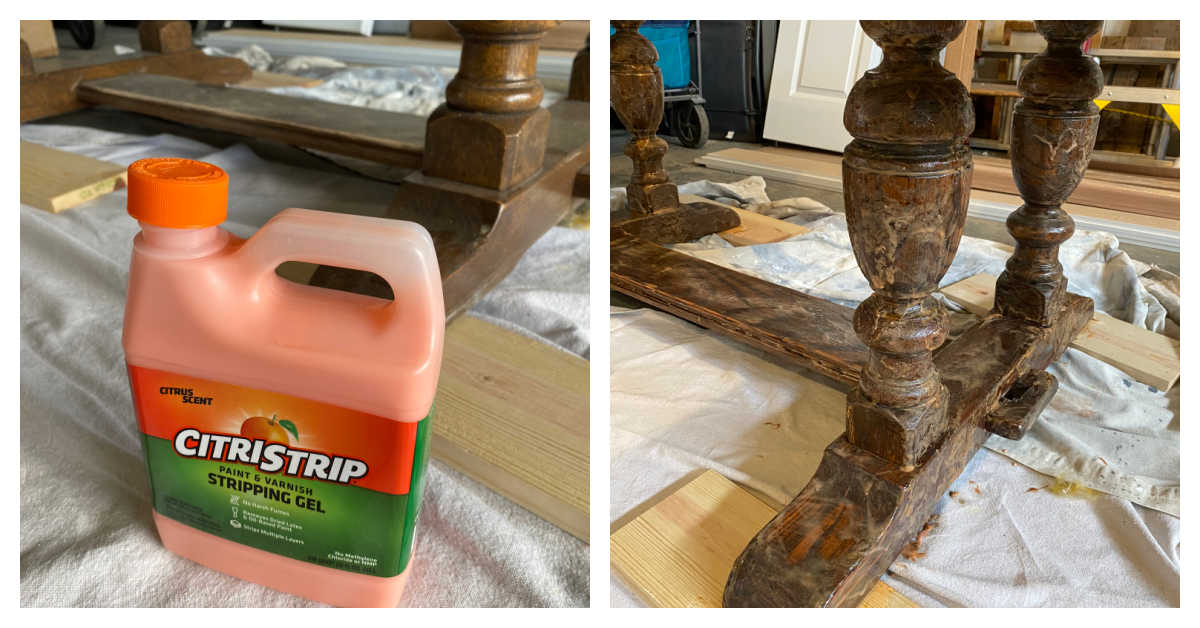
I used the gel {there is a spray}. Make sure you apply it liberally! Take a brush and just coat that sucker! Nice thick coats! You want to make sure the gel doesn't dry out, so put it on there with a heavy hand. Some people like to cover the piece with saran wrap to make sure it doesn't dry out. We live in an area with high enough humidity so this didn't seem to be a problem. But if you are doing this on a hot day in the sun, you might want to consider using saran wrap to wrap it while you wait for it to do its magic.
Depending on what you are trying to remove from your furniture piece, the Citristrip may come off very sticky. I used a putty knife to scrape off the excess, but it was super messy! Be prepared! I have a paper towel nearby to wipe off my knife and a plastic bag to throw it in.
You will hate everything about this process. Everything. You will regret even attempting it. But then you will start to see progress and you will be so glad you did. So stick with it!
A wire brush is your friend! It will get in all the really small nooks and turned wood places.
Use steel wool to help remove stubborn spots!
When I went through the process of scraping, then the wire brush then the steel wool, and if the paint, varnish or stain wasn't coming off, I'd add another coat of Citristrip and repeat the process.
When it got too sticky, I used odorless mineral spirits. I poured the mineral spirits into a small plastic bowl and used my steel wool, wire brush or even an old rag to rub it on. Mineral spirits will neutralize the Citristrip and if your piece still hasn't completely stripped all the way, you are going to want to repeat the whole process again!
I'm not going to lie, this is a LONG process. I used a full quart and then some on one table! And spent hours over the course of several days just getting to the point where I felt like I could move on to the next step.How to Bleach Wash Furniture to Get the Raw Neutral Wood Look
After I did the whole process of stripping the finish off the table, I used the mineral spirits to get all the sticky stuff that was left off. I did this through a combination of scraping, steel wool and a wire brush.
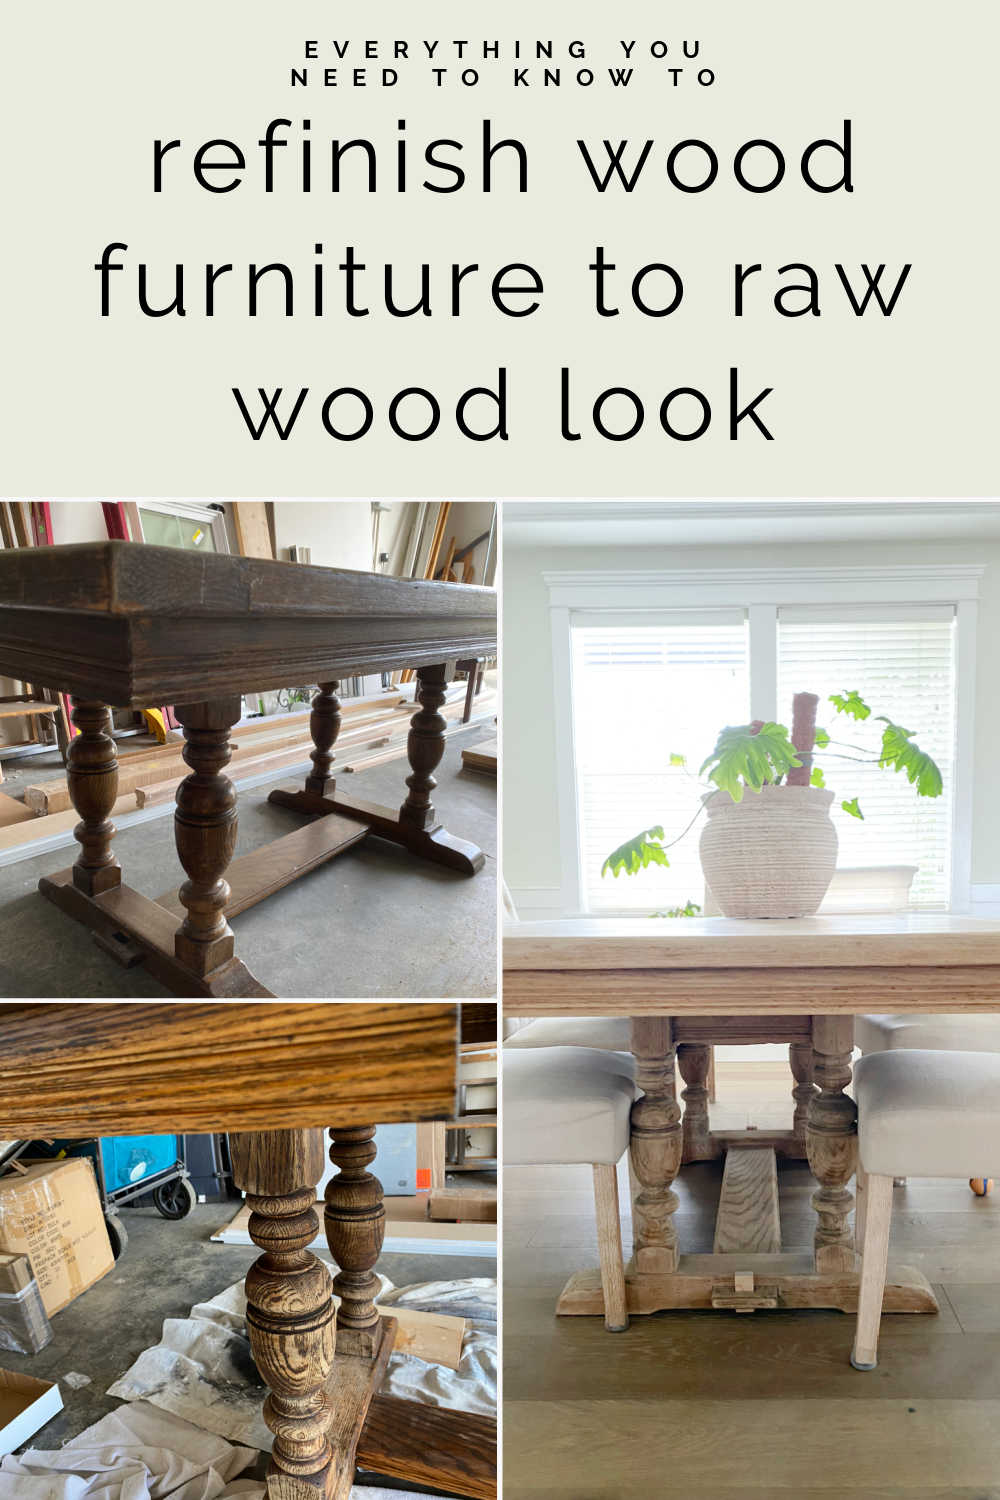
This is the table in various parts of refinish
far left: original wood finish, heavy lacquer
middle photo: after several layers of Citristrip
far right: after bleach wash
Sand Again
Sanding your furniture down after you strip it will help you get even further down to the raw wood underneath. Get into the cracks and grooves as best as you can.
Use Bleach
I started this process just using what I had on hand. And I had normal household bleach. I find that it works just fine. If you have to buy bleach anyway, I've heard good things about this wood bleach but I've never used it. You'll still need to start by sanding regardless and if your table has a finish or is painted, go through the Citristrip process.
I put on rubber gloves and poured my bleach into a clean plastic container. Mix one part water with one part bleach. Use a clean brush and wipe the watered down bleach on the whole furniture piece.
Pro tip: Save those food containers for projects like this. That way, you can just toss them afterwards!
I moved my table out into the driveway because I wanted to use the power of the sun and the bleach together! I slopped the bleach on the whole table pretty heavily and then let it dry in the sun between coats. Repeat the whole process a few times.
Seal Your Table
Your table is now stripped raw and I'm assuming it's the color you want it to be! It better be because you just spent days and days on this process! Because you've stripped it down, you need to seal it, otherwise as soon as you spill anything, or put a drink glass down, it will leave a mark and you'll feel very sad.
My favorite seal to keep the neutral color without giving it a shine is the Minwax Polycrylic clear matte. I follow the manufacturers directions and apply it with a thin coat and then let it dry. After it's dry, I sand it down and then repeat the process. I typically coat/sand/repeat about three times. This will make sure your furniture piece is sealed and ready for use!
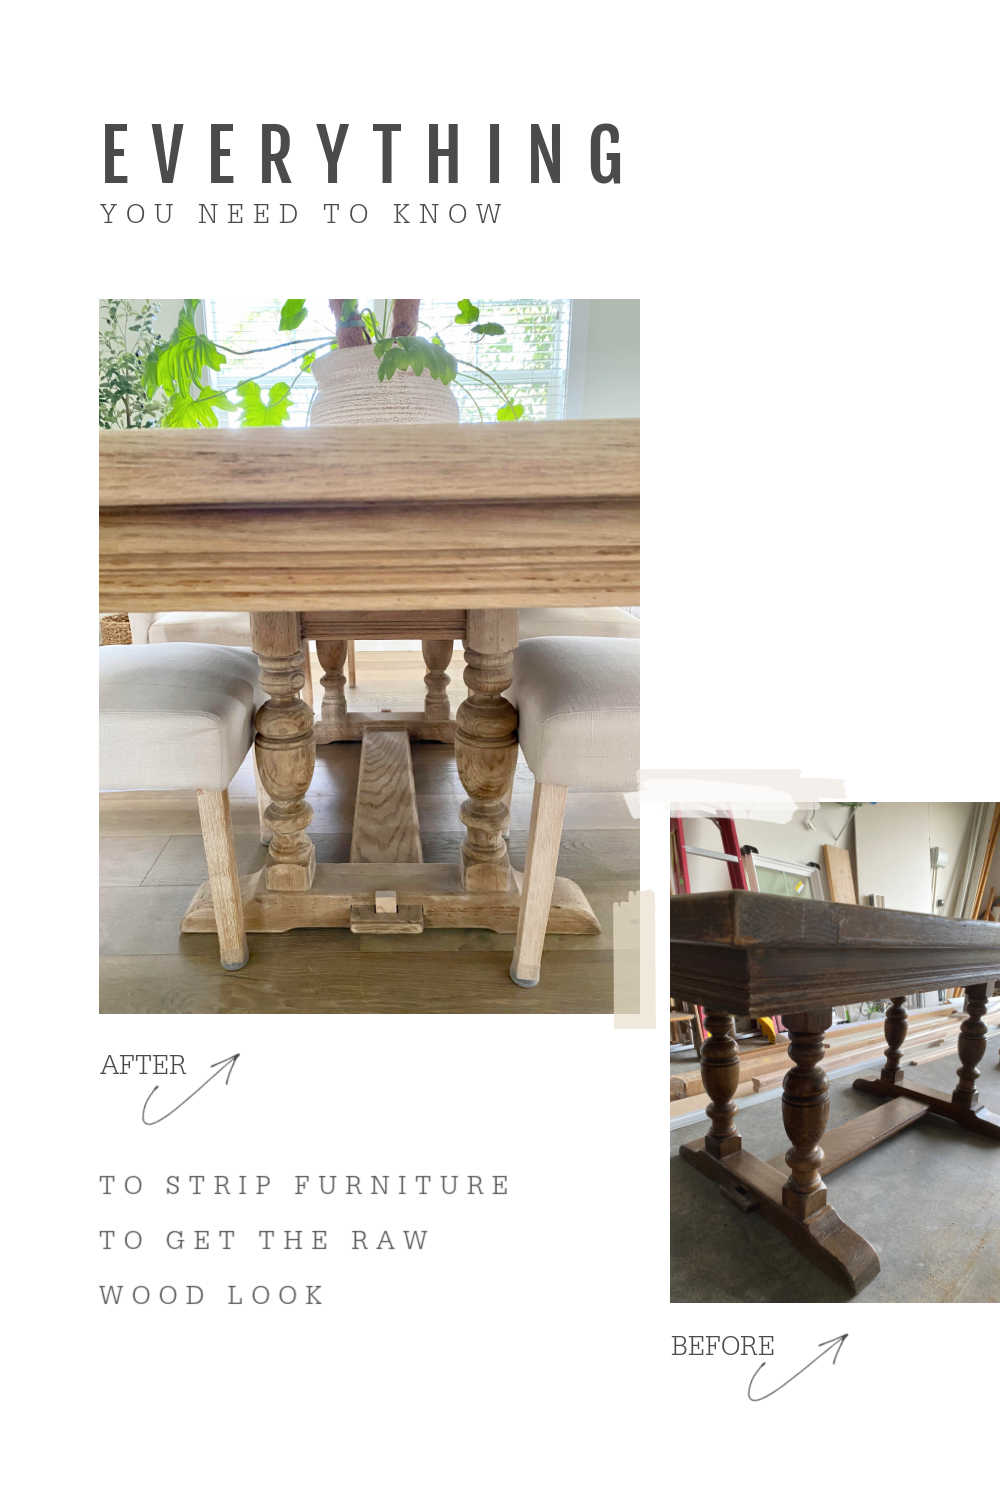
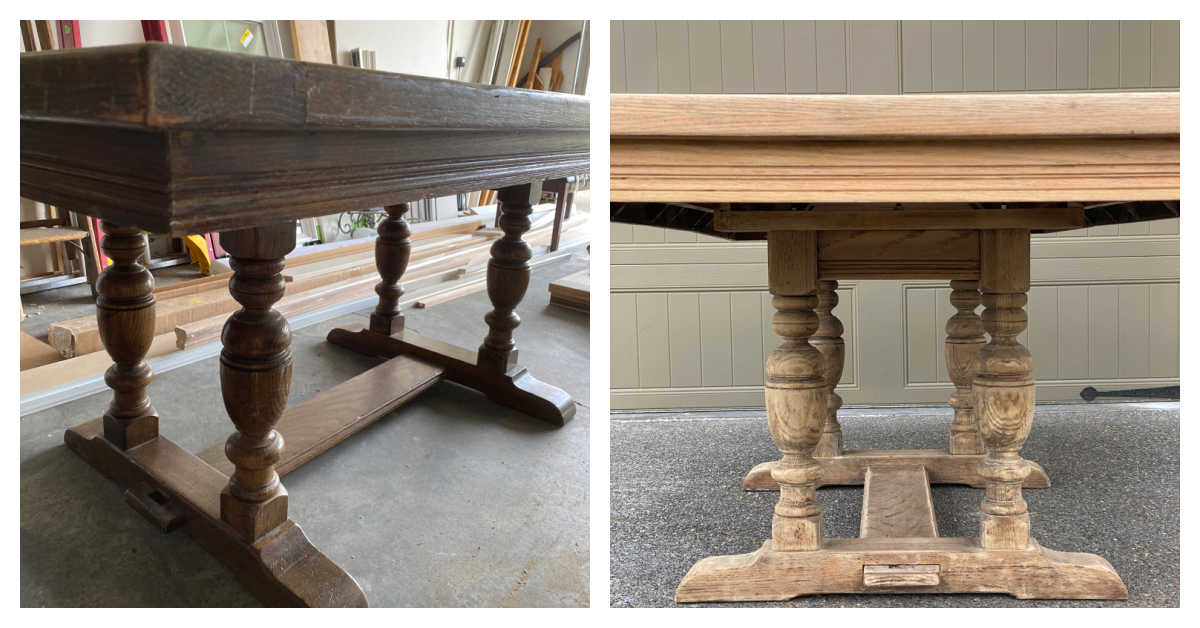
One more side by side of the before and after!
Pro tip: I only sealed the top of my table and have no regrets! After a year, it still looks great.
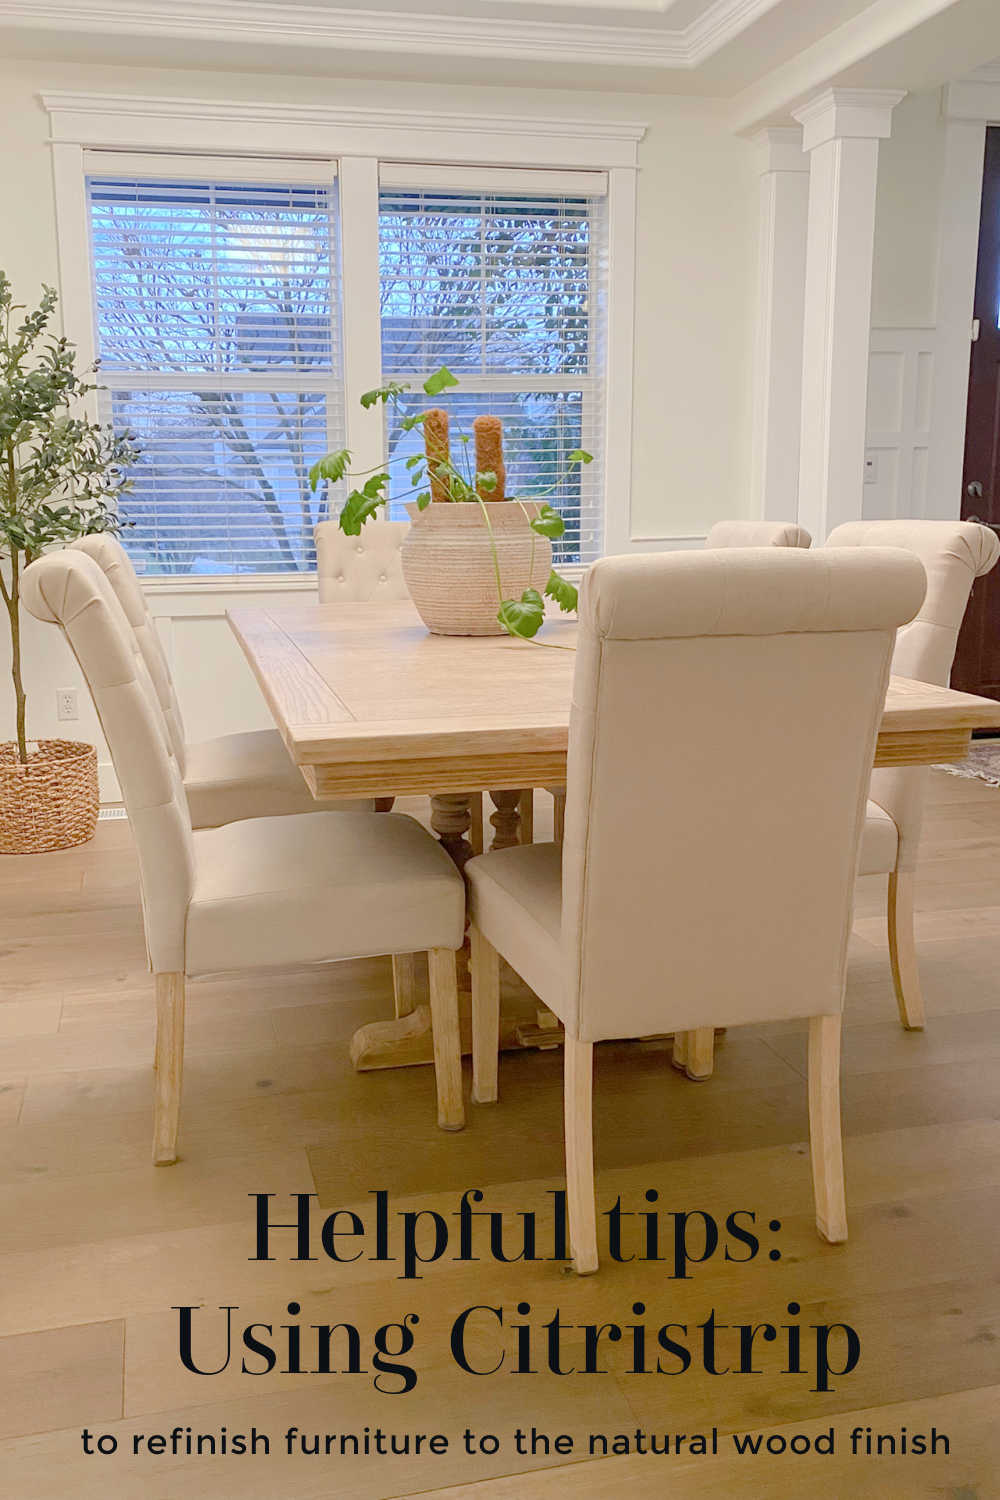
The process to refinish this table to the raw wood look took a lot of hours. But I paid $250 for it and was looking at similar tables in the $3500 range! I saved a few thousand dollars by putting in some sweat equity! And I ended up with a piece I'm very proud of and can enjoy for many years! disclaimer: this post may have affiliate links. By clicking on them and purchasing through them, I may receive a small commission. These small purchases help me to continue to keep writing content and creating at Rachel Teodoro. Thank you!
loading..






No comments
Post a Comment