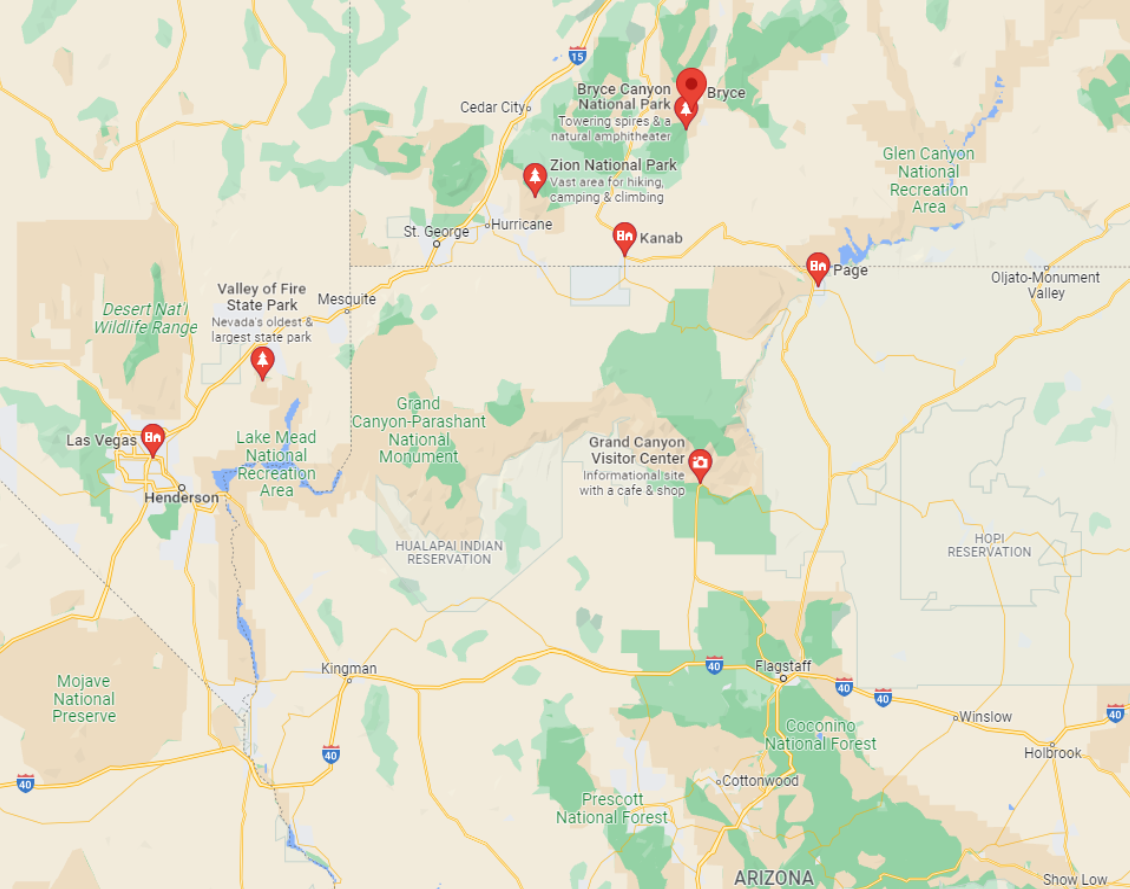
What started as a {potential} college visit to Prescott, Arizona, with a side trip to the Grand Canyon, turned into a road trip through Nevada, Utah, and Arizona making stops at Zion National Park, Bryce National Park, Glen Canyon, and the Grand Canyon {to name a few} in what is often referred to as {a portion of} The Grand Circle. We actually deemed it "The Ultimate Southwest Road Trip" and it will forever be known as that from here on out. {We never made it to visit the college.}
It's easy to look at a map and see how close some of the most spectacular parts of the southwest are to one another and get carried away planning a road trip. We planned the Ultimate Southwest Road Trip™ and think that this was the best way to spend seven days around some of the United State's most beautiful vistas. We fit a lot in, allowing for some downtime, and felt like we saw all the things {and a few things you could skip}. Read on for tips on how you can plan your own Ultimate Southwest Road Trip.
The Best 7 Day Grand Circle Road Trip Itinerary! The Ultimate Southwest Road Trip!
I'm calling this the Ultimate Southwest Road Trip™ because it hit all the highs on our list of places to see. I'm refraining from calling it The Grand Circle because that trip can often take up to three weeks and includes stops in Arizona, Nevada, New Mexico, Colorado, and Utah. We hit several National Parks, but also some Navajo Nation lands and some {overhyped} Instagram spots {I'm looking at you Horseshoe Bend}.
This seven-day road trip could be extended to include a variety of extra stops. Regardless of what you decide to do, you'll be treated to some of the most spectacular views, bold colors, and plenty of sheer cliffs! I left wanting to know more about the indigenous peoples of the area and with a few more places I'd add to my bucket list for next time.
When is the Best Time to Plan the Ultimate Southwest Road Trip?
We went in early April, and while there were things we wanted to do that were still closed, it did give us some pretty delightful weather overall. If you were to go later in the spring season, you might find more of the trails are open {several trails we wanted to hike were closed either because of damage from the winter or because the conditions were still unsafe}. But you also might start to find more crowds. The summer will bring some extreme heat {which for us, means cranky travelers}. It will also bring more crowds.
If I had to pick a month to do this trip I'd pick April/May or September/October. I think you will get the best weather, fewer crowds, and the most enjoyable experience during that time.
Before you Go
If you don't have a National Parks Pass already, pick one up before you go. I went to our local REI and bought one the day before our trip. It's $80 and called an America the Beautiful Pass and it will get you into Zion, Bryce, Glen Canyon, and the Grand Canyon.
The passes are good for one year, starting in the month you buy them. If you want to get the most out of your pass, buy them on the first entrance into the park, or get one on the first day of the month you are traveling.
The America the Beautiful Pass will give you access to all the parks managed by the National Park Service, the Bureau of Land Management, the Bureau of Reclamation, and the Army Corps of Engineers.
Living close to Mt. Rainier, there are several parks in our area that require Forest Passes, and it can get confusing to know which pass is which. An America the Beautiful Pass will work for that too.
An America the Beautiful Pass WILL NOT work on land managed by the Native Americans. This includes Antelope Canyon. It also won't work in state parks. Each state has their own specific pass designated for these areas.
The America the Beautiful Pass will allow you to visit the Grand Canyon South {the most visited} and North entrances but WILL NOT give you access to the Grand Canyon West {the Skywalk area}.
If there is a pre-paid pass line at a National Park, you can use that if you have your America the Beautiful Pass.
Most entrance areas will ask for your America the Beautiful pass AND your driver's license so have both ready as you drive into a park.
Don't forget that if you have a fourth-grader, they can get a free annual pass through every kid outdoors initiative.
How Long Does a Grand Circle Road Trip Take?
We did this version of the Grand Circle Road trip in 7 days. You can add days and stops to it, but a full week will hit the highlights. If you keep reading, I have a few extra suggestions of National Parks you can add to make your trip just a bit longer if you have the time.
Where to Start Your Ultimate Southwest Road Trip
We started in Las Vegas. Vegas is generally a less expensive hub to rent a car and find affordable airline tickets and it gives you a great place to start for the most scenic views as you drive the loop around. If you find cheaper flights from Phoenix, just do this road trip in reverse.
The Ultimate Southwest Road Trip Itinerary
Day 1: Las Vegas
We flew into Las Vegas and probably could have hit the ground running but we planned an evening on The Strip. We rented a car as soon as we flew in {mistake!}, and then had to navigate through parking garages and shopping malls just to check into our hotel {Planet Hollywood}.
Here's what I would have done differently:
Option A:
Evening on The Strip
Uber from the airport to your hotel. Spend the evening at your hotel and then Uber to pick up a rental car before starting your road trip {there are several locations you can rent from without returning to the airport}. This way you don't have to worry about paying an extra night for the rental car you aren't using and for parking fees. We also waited for nearly two hours just to travel to the rental car location before getting someone to give us a car that we parked.
Option B:
Start Your Trip
It's about a two-and-a-half-hour drive from Las Vegas to Zion National Park. You could grab a rental car and start your trip right away.
Option C:
Valley of Fire State Park
Book a hotel outside of the strip {Henderson, NV perhaps?}. Spend some time exploring Valley of Fire State Park. On our first visit to Las Vegas a few years ago, we went to Valley of Fire State Park, and it was great. It's a slight detour off of the main highway {20 minutes} but has some great short hikes and it's a good way to start your trip and it's on the way to your next destination.
Day 2: Zion National Park
Where We Stayed:
Best Western Plus Springdale,
It's been a minute since I have stayed at a Best Western and I was pleasantly surprised. It's right on the shuttle line for easy access into the park and has free breakfast and a pool and hot tub. Not to mention several community fire pits and easy walking access to the cute little town of Springdale.
After leaving Vegas {around 11 am}, drive about 2 1/2 hours to Springdale {we stopped in St. George, Utah for lunch and grocery store road trip snacks}. You can choose to do an afternoon/evening hike or explore the Springdale area.
Where to Eat:
Coffeeshop: FeelLove CoffeeDinner: Whiptail Grill Grocery Store: Sol Foods had delicious prepared sandwiches and snacks we packed for our hike the next day
This park probably came with the most disappointments and the biggest surprise highlight.
Day 3: Zion National Park
We had a full day to experience Zion National Park and it was just the right amount of time given the fact that the main things we wanted to do just weren't possible...
Angels Landing
Just a few days before our trip, the park service issued a seasonal lottery permit for one of the most popular hikes, Angels Landing. And rightly so. This 5.4-mile hike has about 1500 feet of elevation gain. The most famous part of the hike at Angels Landing is the chained section up the last half mile of the knife-edged trail. This particular section has seen the most deaths {around 13 since 2004} and is considered one of the most dangerous hikes in the country.
We submitted our permit application several months before {it costs a non-refundable $6 for up to six people in your group and you can rank up to seven days and times}. If you don't "win" the lottery, you can apply again the day before. It opens every day at 12:01 am and closes at 3 pm. It also costs a nonrefundable $6.
We lost both lotteries.
I talked to a park ranger who was checking permits before the peak and he said that they were still working out the kinks. Here's what I assumed that meant...there were limited permits available in an attempt to figure out the best number of people to allow on the trail at a given time. One park ranger told me she had only met one other person who got a permit.
That said, there were people we could see on the last half mile of the chained Angels Landing trail, but it was a FRACTION of what it saw prior to the permitting process.
BUT, you don't need a permit to hike the majority of the trail {you just can't hike the last 1/2 mile of the chained section} and it's worth it for the beautiful views of the park. Start at shuttle stop 6 The Grotto and take the West Rim trail through Walter's Wiggles up to Scouts Landing. Scouts Landing is a great place to stop for lunch {there is a pit toilet here}, but if you want to avoid the crowds keep hiking upwards towards Lava Point. We just kept hiking until we decided to turn around and head down.
Narrows Hike
We also wanted to take a hike through the famous Narrows, but the conditions weren't great. It was closed one day and the next day the {38 degrees} water was waist deep and passable, but not worth it for us. The Narrows Hike goes through the most narrow section of Zion Canyon and has no trail other than the bed of the Virgin River. You can hike this section on your own, but it is suggested that you choose a guide where you can rent the appropriate clothing {it's often described as hiking on slippery bowling balls} and have someone who knows weather conditions since flash flooding is common.
The best time to do the Narrows Hike is summer and early fall when the water level drops the most and gives you easier access to the river bed hiking trail. Though this time of year also brings the greatest crowds so weigh your options.
What We Did in Zion National Park
One of the highlights of our trip wasn't even initially planned. But after so many disappointments, we decided to rent electric bikes for the day and we had a blast! We rented from Utah eBike Adventures because they were literally right across the street from our hotel and offered us 10% off since we were guests at the Best Western. If you are staying at the Desert Pearl Inn {where the shop is located} you get 20% off your rental.
Renting an eBike allowed us to skip the crowded shuttles {there are two shuttles...one that goes through the town of Springdale that will then take you to the National Park bus where you will transfer to the other} and we covered more ground than I think we would have had we been on foot or at the mercy of the park shuttles. {if you are visiting Zion, do some research on the shuttle system as parking is very limited and most roads are closed to traffic}
Pa'arus Trail
We started our morning renting the bikes {plan ahead and book them, we got lucky that they had three we could use for the day}. Pick up your eBikes in the early morning {dress in layers it was cold!} and drive up to the entrance of Zion National Park, where you will have to walk your bikes in and show your America the Beautiful park pass before getting on the only trail eBikes are allowed on, Pa'arus.
Take some time to stop along this trail to snap some photos.
Canyon Junction
Transition from the trail to the road at Canyon Junction. At this point, you will be riding your eBikes on the road but you'll only be sharing the road with the shuttle buses.
The etiquette for riding on the road is to stop your bike safely on the shoulder to allow the shuttles to pass. They will not pass you if you are moving. During the whole day of riding, we only had to pull over once to allow a shuttle bus to pass, so this is not a huge concern. Just use your mirrors and be aware.
The Grotto
We parked our bikes for the majority of the day at The Grotto. There is a bathroom with a water fill-up station here where you can stop before your hike.
Hike:
We hiked the West Rim Trail {about 5 miles} to Scouts Landing. Scouts Landing was very crowded! In an effort to get past the crowds we continued on past Scouts landing towards Lava Point where we ate our lunch. We decided to turn around and head down, though the trail continued upwards because it didn't seem like the views would change much if at all. This was classified as a strenuous trail and does have long drop-offs.
We started our hike back down West Rim Trail before catching up with the Kayenta Trail towards the Lower and Middle Emerald Pools. The Kayenta Trail is about a two-mile hike and it got VERY busy around the various trails that transitioned to the pools.
We hiked down to the Lower Emerald Pool {beautiful waterfalls} and you could continue this trail in a loop back towards the Lodge. We turned around and hiked back up and around to the Middle Emerald Pool where we stopped for a snack before heading back to where our bikes were parked in The Grotto.
Temple of Sinawava
Because we had our eBikes {we were tired from our hikes}, we were able to continue up to the end of the Zion Canyon Scenic Drive and stopped at the Temple of Sinawava. Several people recommended walking the Riverwalk Trail {about two miles} and honestly, I wish we had done this trail instead of the Emerald Pools Trails. The Emerald trail was so crowded and I hear that the Riverwalk {since it's the last shuttle stop}, doesn't get quite as many visitors and has some great wildlife sightings.
We decided to take the bikes back down into Springdale making a few scenic stops along the way. The bikes made it easy to zip around quickly, a lot faster than the shuttle, and with limited time, the eBikes were for sure the best option to see the most of the park.
Springdale
Springdale is the little town just outside of the park and it reminds me of a cute ski village though I know Zion isn't a ski town. We had our eBikes until 4:30 so we took the last few hours to just enjoy them. We zipped through Springdale in the bike lane {contrary to the park where you are only sharing the road with the rare shuttle, you are sharing the road with traffic} and then found a paved bike trail we rode for a few more miles before turning back to return our bikes for the day.
The bike rental was around $250 for three bikes for the day, and it was a great way to see the park. I'd definitely recommend eBikes when visiting Zion. You can see this post for more tips.
Day 4: Kanab, UT and Bryce Canyon
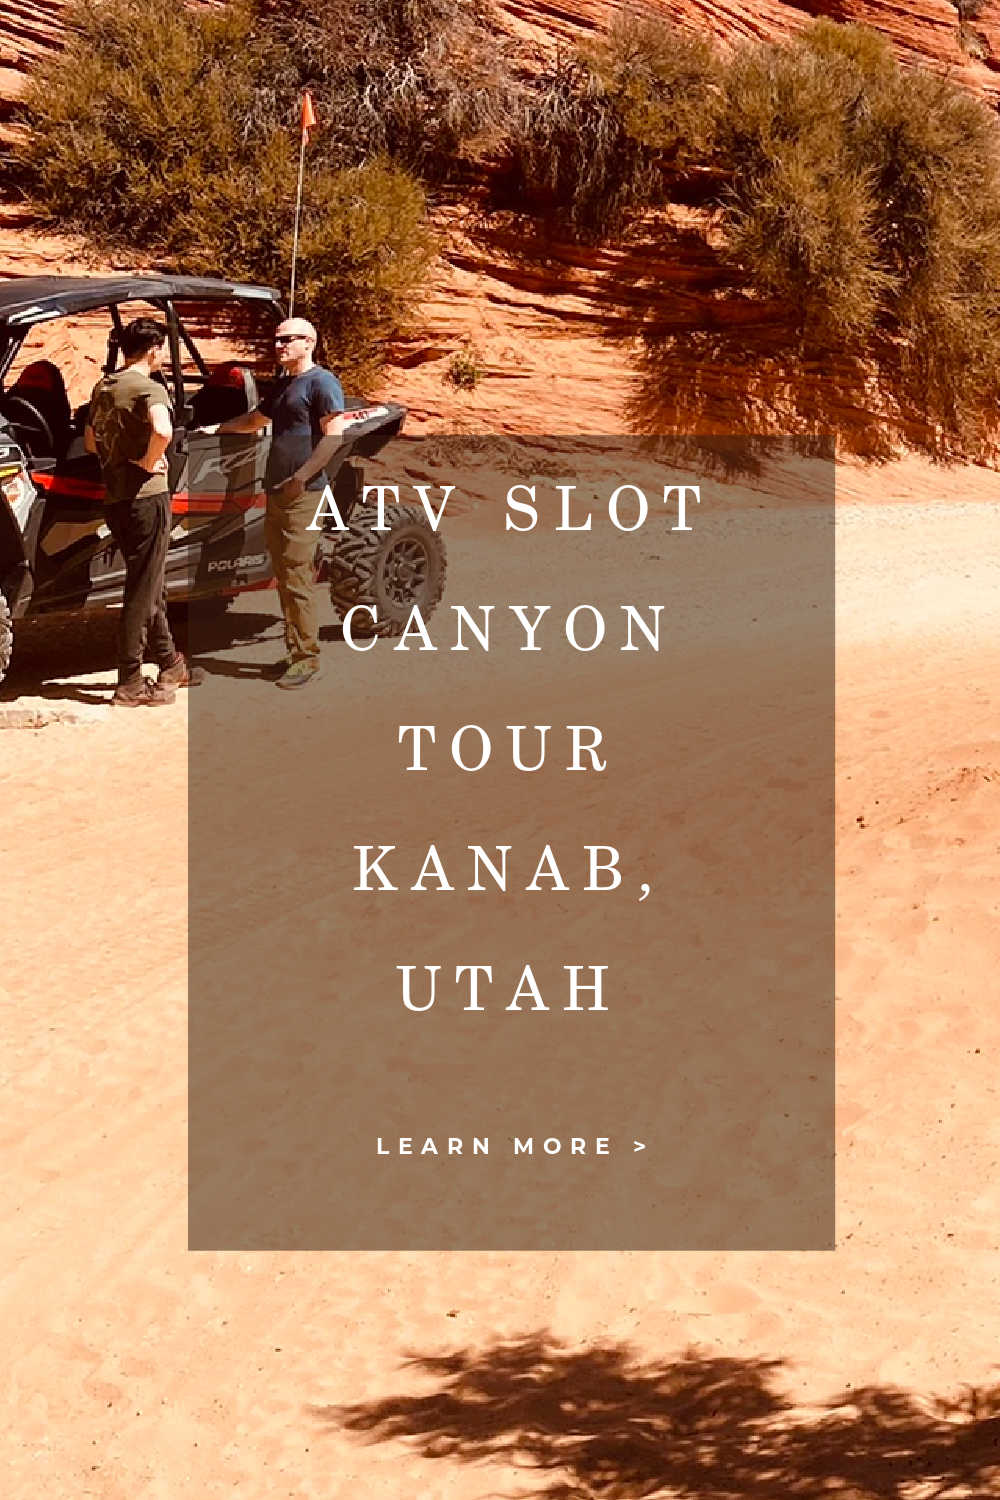
You'll wake up in Zion, but will have an adventure ahead! It took about an hour to drive to Kanab where we had scheduled an ATV Peek-a-Boo Slot Canyon tour. This three-hour tour was a fun way to race over sand trails and get our first glimpse of a slot canyon. We were able to add in a stop at the White Wave, where we walked around a huge rock formation to find a cave with petroglyphs and a pile of broken native pottery. This area has a rich indigenous history and it shouldn't be missed.
That said, this tour had more stopping and less driving, which I was totally fine with, but my husband and teenage son would have enjoyed unlimited driving, so keep that in mind.
Despite having a valid driver's license, only licensed drivers 18 and older can drive the ATV. Our guide {shoutout to Travis}, gave Owen the option of riding with him and Owen LOVED it. The guide's ATV had features the other rentals didn't have and Travis gave him quite a ride, so know that this is a potential option if you ask and have a kid who is super into speed and a bit of a thrill ride.
The ATV tour for 3 {same price for 4} was $420, so it's a definite splurge for your family.
After our ATV tour, we started our drive to Bryce Canyon {about 1 1/2 hours}.
Where we Stayed:
Best Western Plus Bryce CanyonI was less blown away by this hotel, though our suite was the largest room we had on our whole trip, it had a bit of an 80's RV feel to it. This hotel also had the best complimentary breakfast, so I guess I can see past some of its decor fails.
Looking for a hotel? Check these deals out!
Where to Eat:
Honestly, this town had little to be desired. I wasn't impressed with the food/restaurant options. We ate at Cowboy's Buffet and Steak Room and any restaurant with four cats out front makes me think that there might be a bit of a rat problem. I do love a buffet, but this one was overpriced and not that great. I'd suggest bringing your own food in if possible because the restaurant situation kind of sucks.
Otherwise, your dinner options are overpriced "show" type meals, expensive buffets, or gross fast food.
What we Did in Bryce Canyon
Hikes
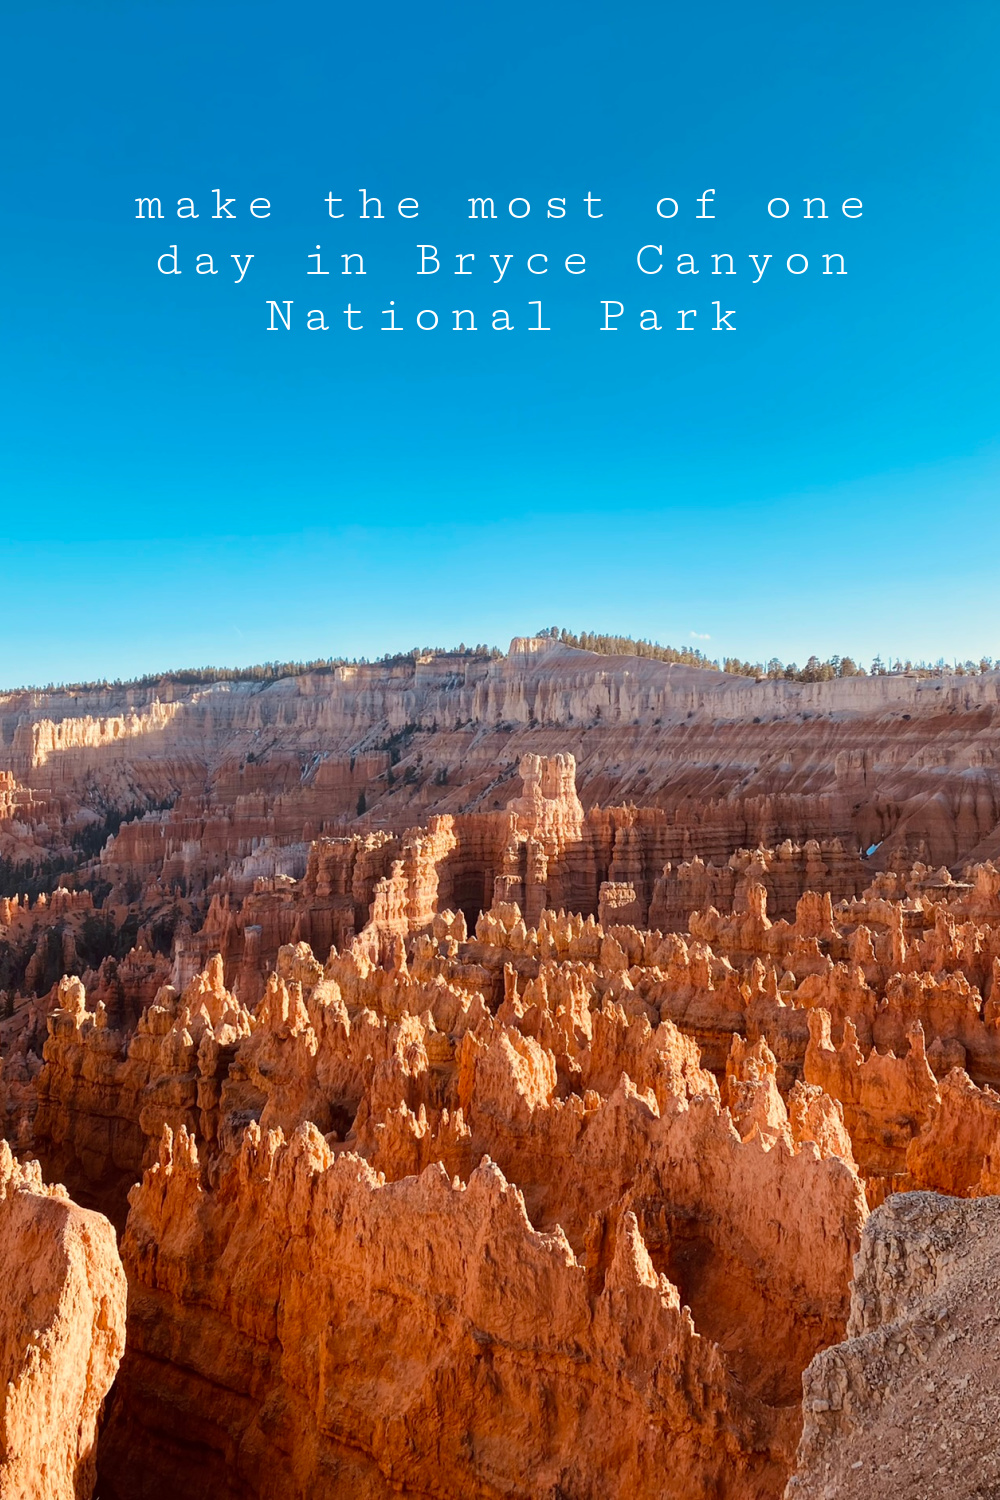
After checking into our hotel, we headed to the park. We found parking {though I'm told it can be limited. There is a shuttle you can use} in the large lot by Sunset/Sunrise Point trails. We started our hike at Sunset Point and decided to head towards Inspiration Point on the Rim Trail as we watched the sunset come across the hoodoos.
You are at about 8000 feet elevation, so you will feel those hills {even the gradual ones} as you acclimate. This trail is about 1.2 miles and is an out and back trail without much elevation gain. You are surrounded by some of the most otherworldly viewpoints.
On your way out of the park, make a stop at the Bryce Canyon National Park sign when it's not crowded! Enjoy a restful evening so you are ready for the morning.
Navajo Loop Trail to Queens Garden
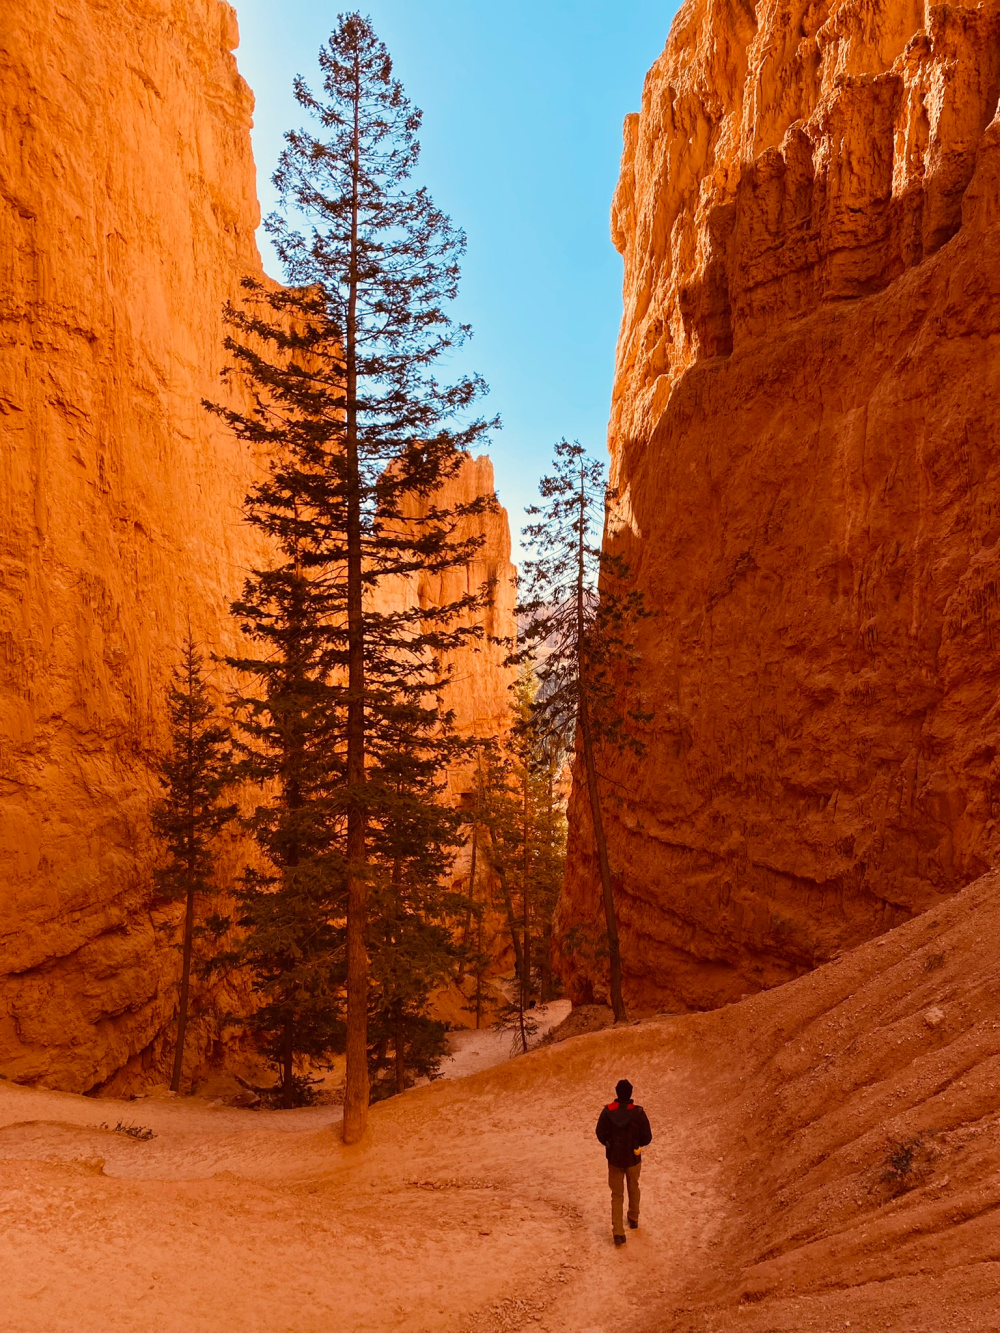
We had a few hours to hike in the morning before we hit the road so we did my most favorite hike of all time, the Navajo Loop Trail to Queens Garden. It's a moderate 2.9-mile hike that will take you 2-3 hours but only because you'll be stopping to take pictures around every bend.
Here's the key to hiking this trail! Start at Sunset Point and hike it counterclockwise. Most people start at Sunrise Point which is fine, but you'll have fewer people on the trail hiking it counterclockwise and will have a more gradual exit from the canyon on your way up. You can add in another mile from Sunrise Point to Sunset Point on the Rim Trail where you'll find yourself back at the restrooms/parking/picnic area.
On the Agenda for Bryce Canyon Next Visit:
I'd hike the 8-mile Fairyland Loop and I'd add in the 3.2-mile Wall Street trail {it's closed until further notice because it's been washed out} to my favorite hike of all time, the Navajo Loop trail.
Day 5: Page, AZ
You'll be backtracking through Kanab, driving about three hours to Page, AZ. We talked through this a bit since it felt like more driving time, but it was the best way to continue on our trip through Arizona. At this point, if you wanted to head to other big Utah parks, this would be a good time to deviate from this itenerary.
We stopped in Kanab for lunch {and extra road trip snacks at the local grocery store} and then headed through to our hotel in Page.
Where we Stayed:
Days Inn and Suites by Wyndham
It was fine.

Where to Eat:
Birdhouse-best fried chicken I've ever had. The portions are HUGE, so consider splitting.
Horseshoe Bend
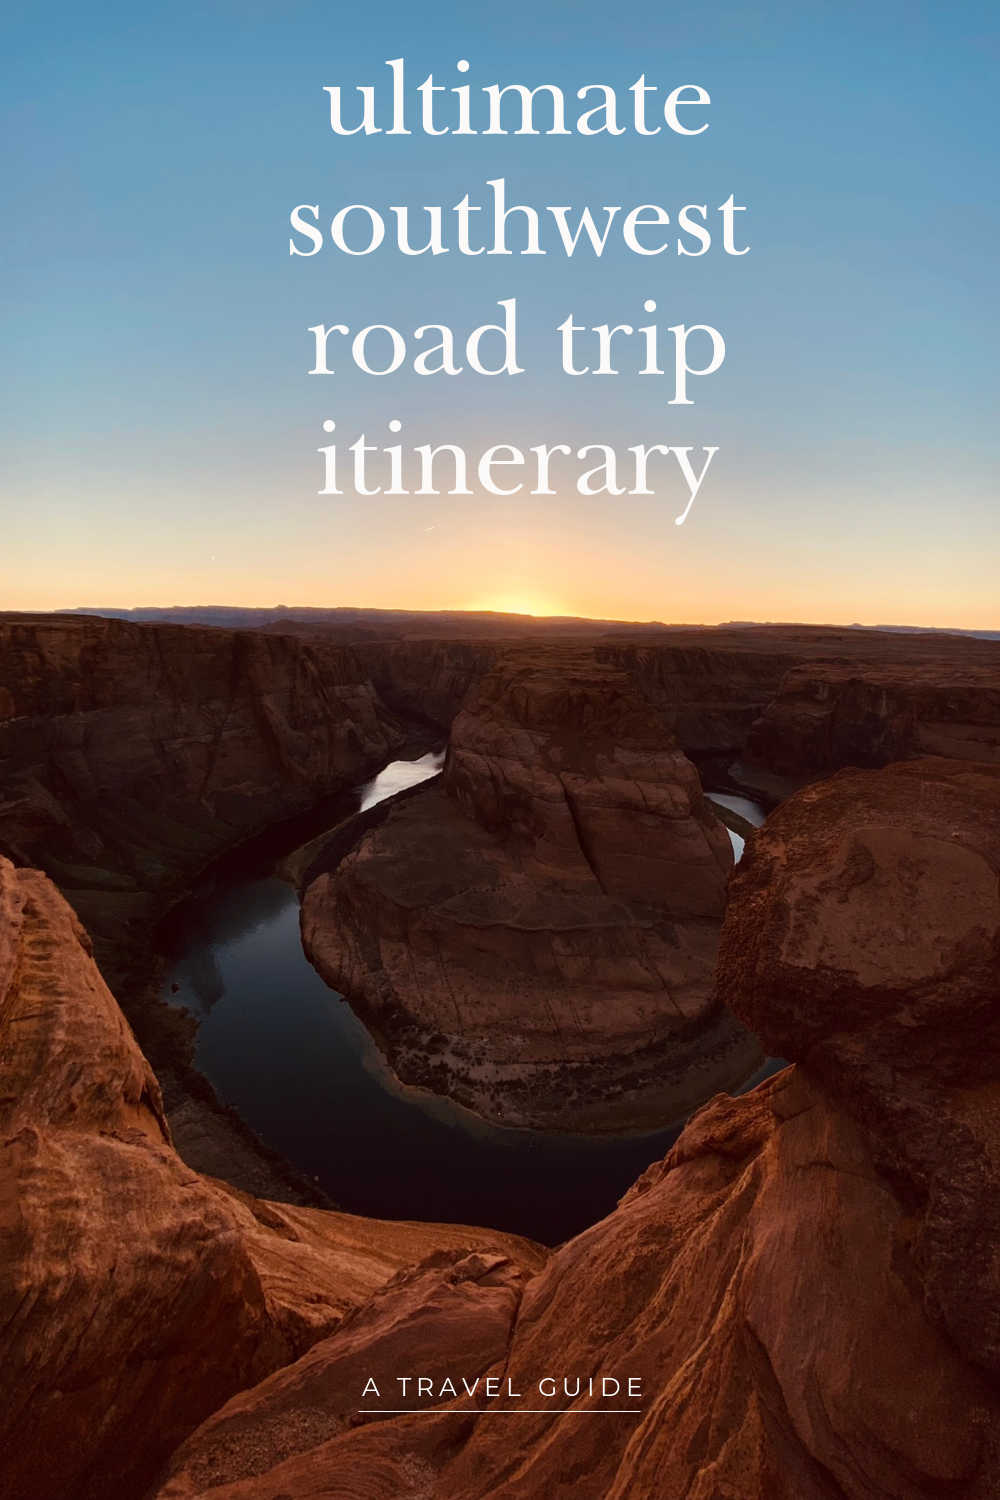
I wanted to make it to Page, AZ so we could watch the sunset at the Instagram famous Horseshoe Bend. This was our most OVER rated stop. The Colorado River created this horseshoe-shaped bend in Glen Canyon and it's become a hot spot for pictures.
There is a $10 parking fee that is required by the city of Page. The lot often gets full and there is no parking on the side of the road. You also can't drop people off to visit. You must pay the $10 fee.
Horseshoe Bend is open from sunrise to sunset, but the most popular times to visit are from 9-11 and 4:30-6:30. We went around 5:30 pm and stayed for about an hour as we watched the sunset.
The "hike" is on an ADA paved trail that is a 1.5-mile roundtrip trail.
Here are a few things no one will tell you about visiting Horseshoe Bend:
It's crowded!
There is a small viewing area with a railing, but most people prefer the barrier-free zone on either side.
There is a 1000-foot drop to the water below.
The bugs are miserable!
The rocks are sandstone and they can be slick!
Doing it for the Gram
I never thought I was afraid of heights until this trip. Maybe it's because I was with my most adventurous child, the one who will take the most risks. Or maybe it's because I noticed every last sheer cliff that was around. Regardless, this particular spot had me shaking my head. I ventured out to a rock that gave me a view of the canyon but that had several layers of rocks underneath me so I wasn't so close to the edge. I sat and observed people for about an hour while I watched the sun go down and of all the places we visited, I saw the most risks being taken here for an Instagram-worthy photo.
I watched a teen brother and sister creep on their bellies to the literal edge of the cliff while their mother snapped a photo of them making it look like they were hanging over the edge.
I watched a bride walk up in a wedding gown with her new husband and photographer as they leaped over cracks from rock to rock to get the best sunset shot close to the canyon edge. I was terrified that she would trip on the tulle of her dress.
I saw numerous couples wander close to the edge for selfies, stepping back without looking and holding their arms above their heads to snap a photo.
I saw people perching on rocks, hanging their feet over the edge, striking poses, and generally taking unnecessary risks to get a photo. I did not like it and it definitely tainted my experience, making Horseshoe Bend the most overrated stop of the whole trip.
Would I recommend a visit to Horseshoe Bend?
I wouldn't recommend going out of your way to see it. I feel like there are much better spots out there to explore.Day 6: Lake Powell/Antelope Canyon
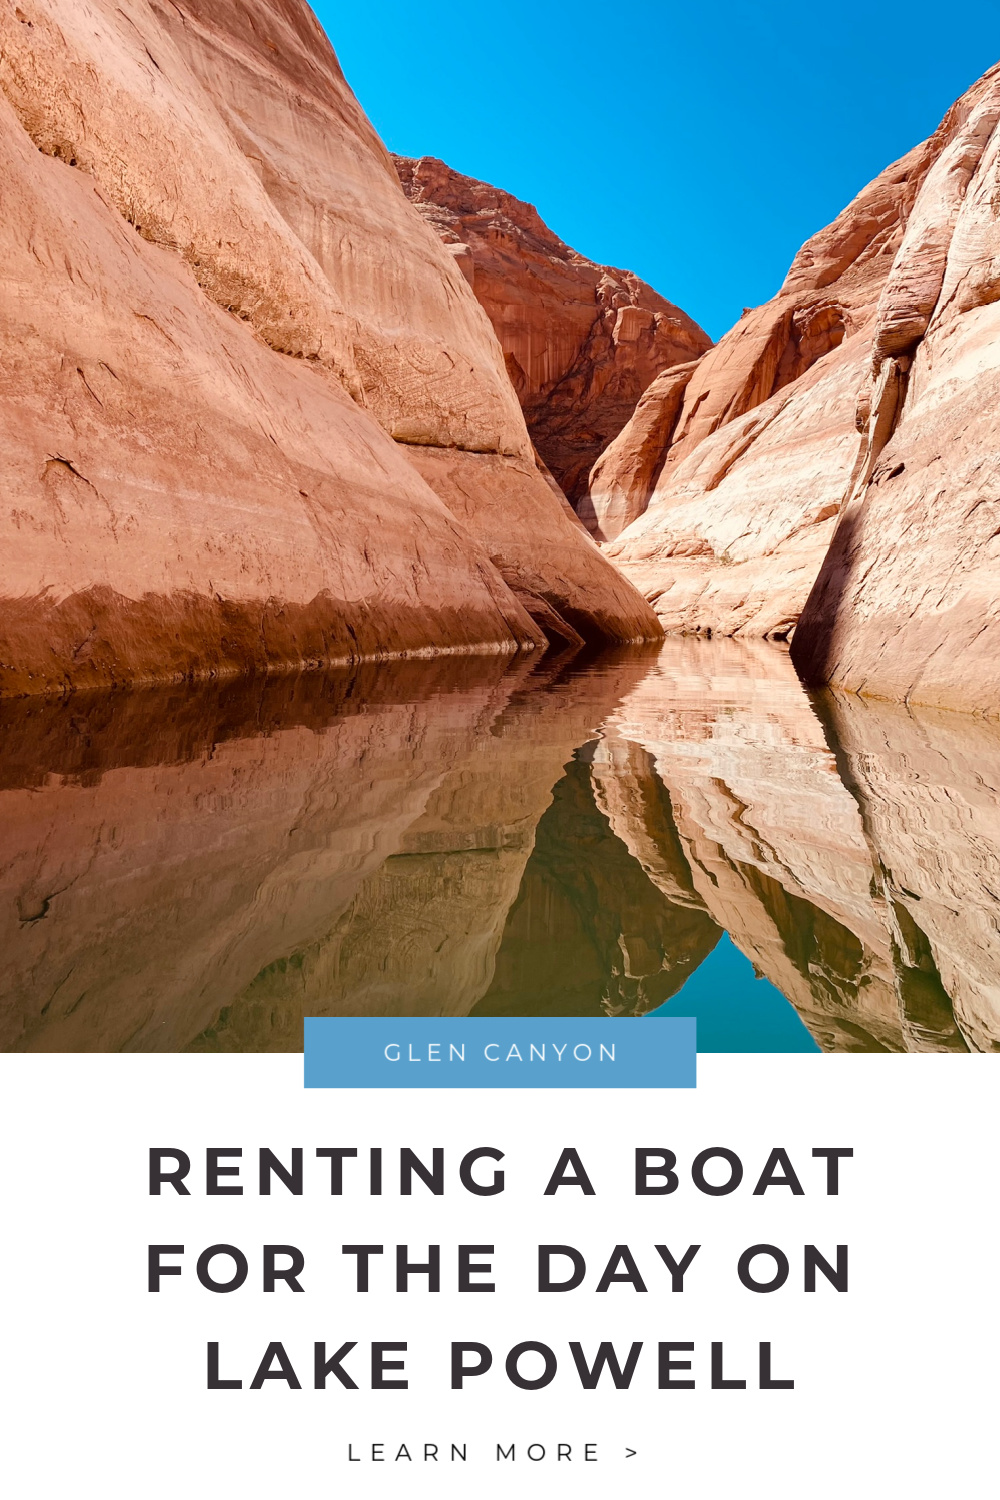
We rented a 19' boat on Lake Powell for the day {9-3} through Lake Powell Resorts and Marina. We were at the early end of boating season, but we are from the PNW, so we are used to boating when it's a bit chillier. We smuggled a blanket out of our hotel and I'm so very glad that we did because once you start driving, it can be quite cold on the boat.
Lake Powell is in Glen Canyon, part of the National Park Service, so you will need your America the Beautiful pass to enter, or pay $30. Declining water levels and severe drought has changed the shoreline of Lake Powell. There are multiple boat launches closed due to low water, several new marinas that have been relocated because their previous marinas are now exposed, and gas stations {like Hite} that are inaccessible now because of the low water levels.
Boat rental for the day was $475 including a non-refundable damage deposit. We did also have to fill up with gas before returning the boat.
Tips for Renting a Boat on Lake Powell
Go early! It took us nearly an hour just to get checked in and instructed on how the boat functioned. Show up early so you can get on the water sooner!
Drop a pin! We actually got lost headed back to the marina to return the boat. Literally, everything looks the same and several of the marinas are new because the old ones are no longer underwater anymore.
Dress in layers! It can get cold as you start driving, so have layers you can take off as you warm up.
If this is your first time on Lake Powell, start driving out to Labyrinth Canyon into Navajo Canyon. You'll be tempted to stop along the way, but in order to have the most time to explore, drive your boat directly there and then start making stops along the various beaches and in the slot canyons.
You can beach the boat! Boating mostly in the rocky waters of the Puget Sound, this would be unheard of! But at Lake Powell, you find a little sandy alcove you can't drive into anymore? Just beach it!
There's a paddle in your powerboat! This is so you can push yourself off of the rocky cliff as drive through canyons. It also helps you push off of the sandy beaches you've docked yourself on.
Because the water is at all-time record lows, the ground that is exposed in some places is like quicksand. If you stand still you will sink. This was extremely disconcerting the first time it happened. But you trained for this in third grade! Here's what you do...run really fast. That's it.
Skip the Glen Canyon Dam view, it's a short detour, but honestly, I think it's more interesting seeing it from above than from below.
You can't access Antelope Slot Canyons from the water. There is a canyon you can drive your boat down {though you will share this no-wake zone with paddleboards and kayakers}, but you can't access the Lower Antelope Canyon from this area. There is a 30-foot climb up a rocky cliff before you trespass on Navajo Nation land. Make reservations for a tour instead.
There is no longer access to Rainbow Bridge if you are trying to get there on a daily rental. Because the Hite gas station is no longer accessible due to water levels being so low, there isn't a halfway option to fuel up. The trail has also receded, making the hike to the Rainbow Bridge double what it was before, and half of it through quicksand mud.
Want to rent a Kayak or Stand up Paddle Board on Lake Powell?
I actually looked into both options, and I'm so glad we didn't rent either. The water is deep and the winds and wake from the boats can make the water choppy. It looked like a real struggle to paddle through. From the rental area to the entrance into Antelope Canyon, it will take you about an hour to paddle, once you get into Antelope Canyon you can enjoy a much more leisurely paddle through the beautiful canyon in a no-wake zone, but then will have to struggle through back to the return.
I noticed several people struggling to paddle and one couple with their dog on a double kayak were taking on water and sinking!
The only way I'd rent a kayak or paddleboard on Lake Powell, would be if I had an option to launch either/both on my own versus having to launch from the marina point. That way you can start where you want to start and enjoy the ride versus having to work harder than you have to.
Lower Antelope Canyon
After returning our boat, we hustled to make it the 25-minute drive to our Lower Antelope Canyon Tour with Ken's Tours. I had initially scheduled a tour that would have allowed us plenty of time to return the boat and get to our tour on time, but Ken's Tours sent me an e-mail a week prior to our trip saying that our tour had been canceled.
They had offered a tour time {5 pm}, which was apparently not a tour time they actually offered. I got from the booking website that they don't seem to have a lot of technical support, so we were rescheduled on a 4 pm tour, with little option to take any of the other sold-out tours.
Ken's Tours-Love it Or Hate it-Not Much You Can Do About It
Here's the deal. If you want to see either Upper or Lower Antelope Canyon, you have to take a Navajo guided tour. There's no way around it. You are at the mercy of just a few companies that offer these guided tours, Ken's being the one who actually owns the land the tours are on.
The booking process was awful. The customer service is confusing and the communication is weak.
BUT
Once you get on the Navajo Nation land, and you meet up with your guide, you'll forget all about the troubles to get there. Most of the guides are young adults and they are anxious to share the slot canyons with you.
Some Tips to Booking Antelope Canyon Tours
Books your tour right away! The tours are limited and sell out quickly.
If you are flexible, and you are a small group, you can add yourself to a sold-out waitlist tour with the possibility of getting scheduled on a tour. You can even get lucky by showing up at Ken's Tours. They give away people's reserved spots if they haven't checked in 10 minutes prior to departure. You may have to split up your group if you want to do this option, but you'll still get to see the canyon.
For the three of us, the cost was $193. The tour was about an hour long and we accessed areas we wouldn't have otherwise been able to access.
Is Lower Antelope Canyon Overrated?
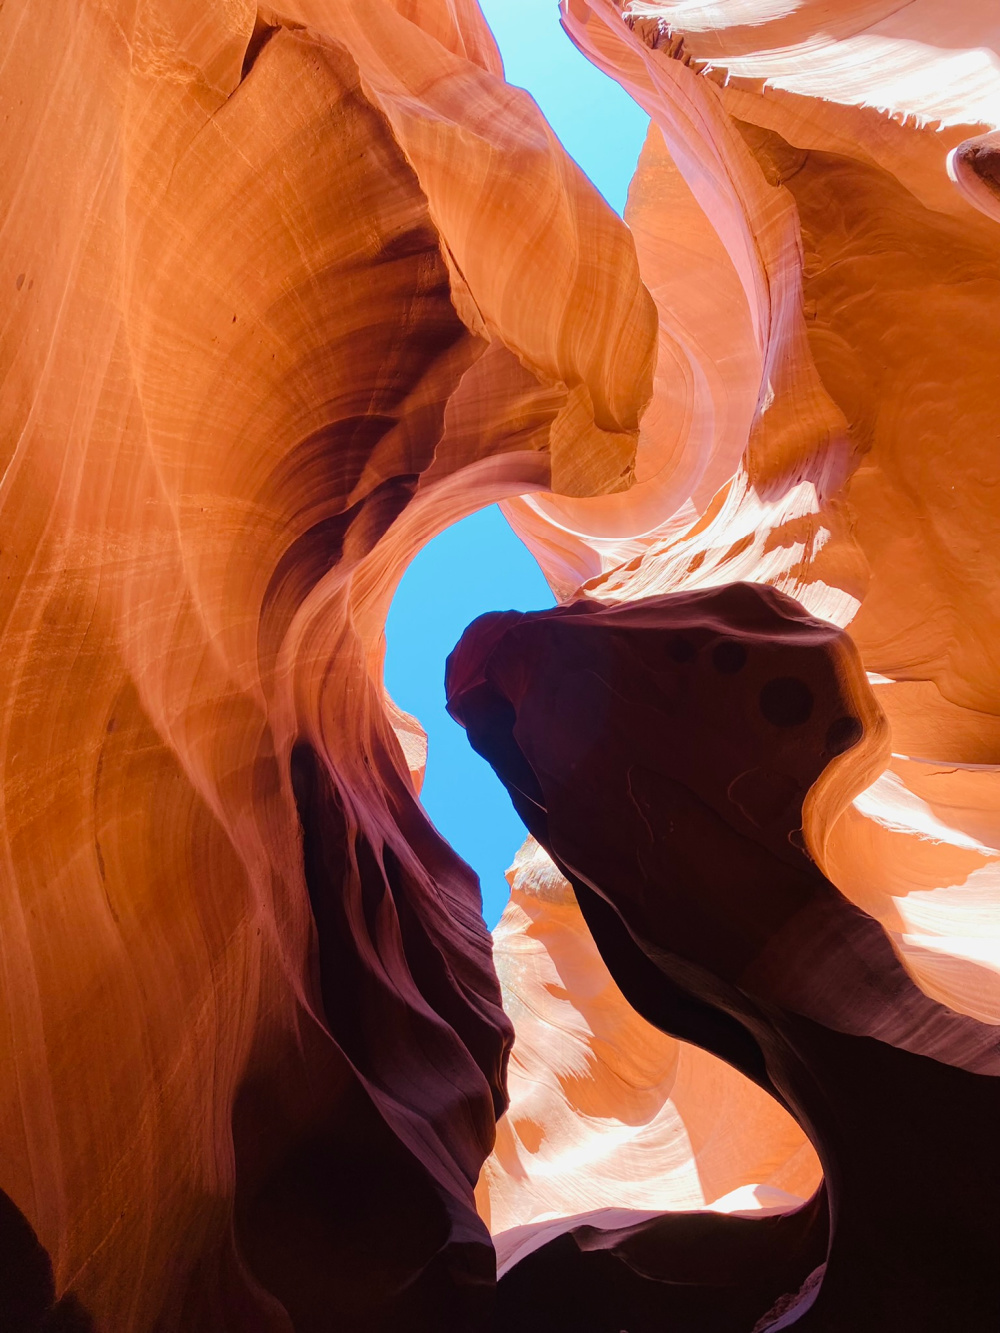
No! Earlier in our week we had seen slot canyons with our ATV tour. They were nothing like the slot canyons you see here. It is one of the most unique experiences you will have, and depending on how much you ask your knowledgeable Navajo guide, you might come away with some history lessons about the Indigenous people in the area.
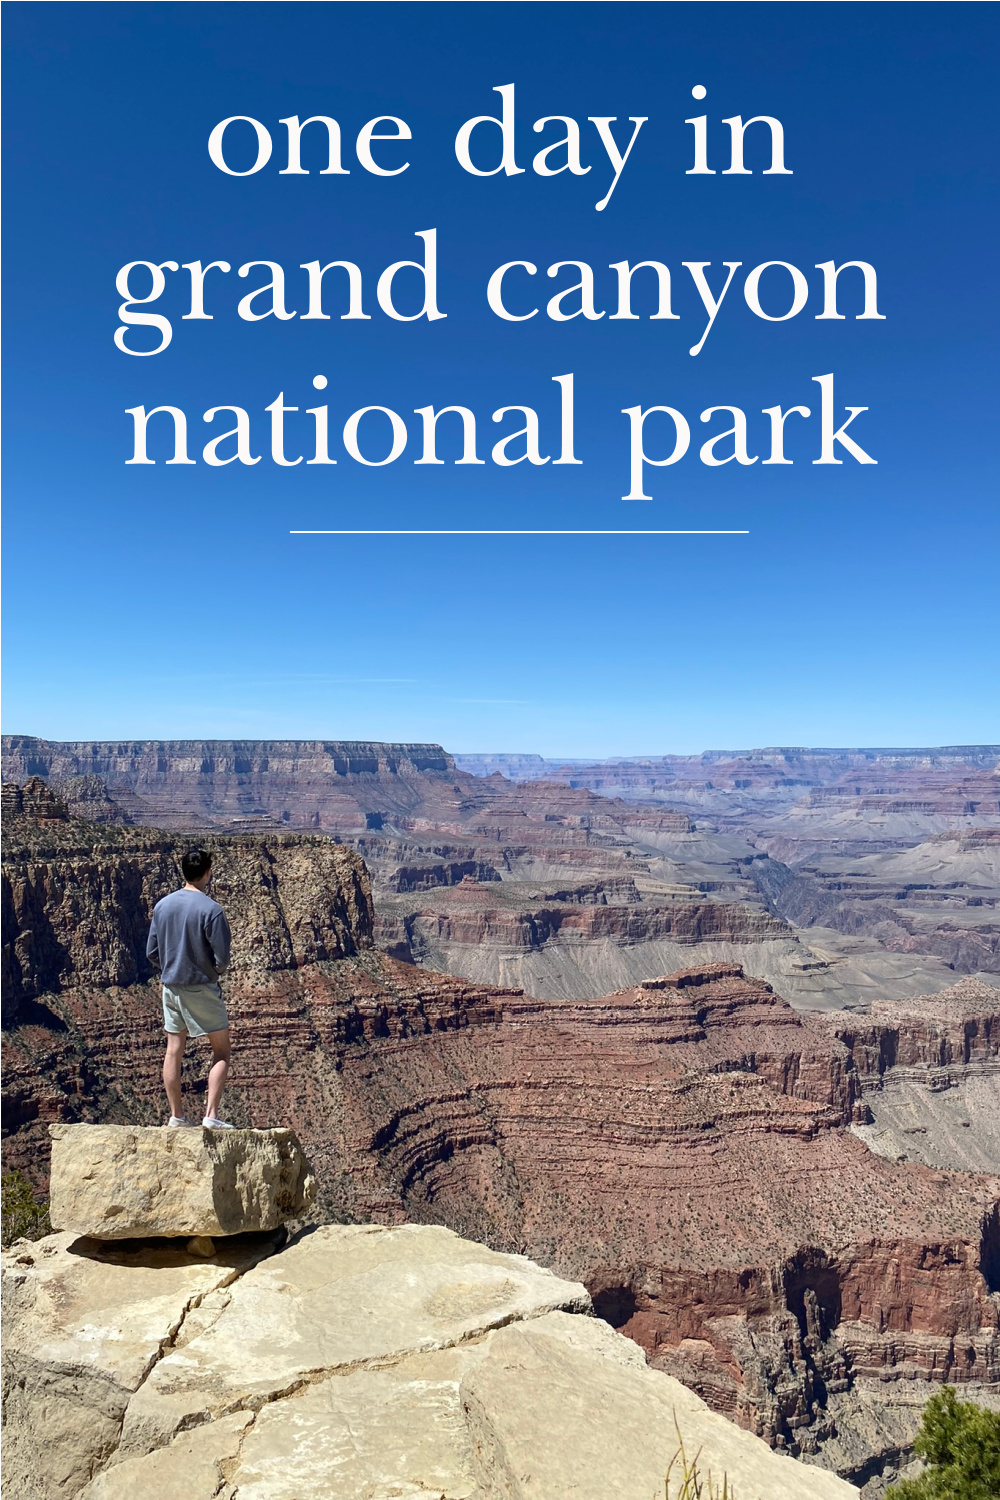
Day 7: Grand Canyon National Park {South Entrance}
Where We Stayed:
Best Western Premier Grand Squire Inn {the more words in the title, the better it is!}There is a resort feel to this Best Western location. It comes complete with a bowling alley and indoor/outdoor pools as well as an arcade and on-site restaurant. It did not provide a complimentary breakfast.
Where we Ate:
Foodie ClubOne of the best grab-and-go food stops we made
What we Did:
We checked out of our hotel in Page, AZ and headed to Grand Canyon National Park, about a two-and-a-half-hour drive from Page, AZ. There are a lot of Navajo shacks set up on the side of the road with lots of opportunities to stop and purchase souvenirs. Not going to lie, there were a few scenic viewpoints I wish we had stopped at, but my driver rarely deviates from his directions {even if it is a detour directly off the road}, so keep an eye out for any good spots to stop and take in the views!
After entering the park through the south entrance, you can immediately pull into your first viewpoint, Desert View Watchtower. This stop was underwhelming.
Don't get me wrong, there was a great view of the canyon, but it was crowded! And it was a little bit of a walk to get to the viewing area {past a Cracker Barrel type restaurant}. The Watchtower gift shop was open, but not the Watchtower itself, which gave me my first glimpse into the consumerism at the Grand Canyon.
Here's my first little beef with the Grand Canyon...it's a National Park Disneyland. There are literally dozens of shops selling everything from books to native goods. It's a lot. I have heard people say this about Zion, but I saw nothing like what I saw at the Grand Canyon. We walked into an observation area, turn around and there was a gift shop. Go to the Geology Museum, don't worry, you've got some great views, and then the gift shop is there taking up half the space.
Moran Point
Moran Point was probably my favorite stop in the park. It was easy to access with incredible views. If you only make one stop on your drive-in, stop here.
This area also had several good spots for pictures but that was safe enough that you didn't have sheer cliffs underneath you.
Grand Canyon Rim Trail
We started our Rim Trail hike at Mather Point. The Rim Trail from tip to tip is about 13 miles long. This is aptly named trail {not hike} because it's a relatively flat easy walk with little to no elevation gain. You'll find yourself sharing the paved trail with mobility scooters, dogs, and young children as well as large groups of people who are slowly meandering through from observation point to observation point.
The Rim Trail to the Village was recommended to us not only by a park ranger but also by the front desk clerk at our hotel. The part of the trail we took was about three miles long from Mather Point to the Village.
I wasn't thrilled about exploring the Village, though I was assured that most people love it. I guess I'm not most people. You'll find even more people in the Village as it's the hub of most of the lodging. You'll also find the park's original retail shops that still function as...you guessed it...retail shops.
My second little beef with the Grand Canyon...the views are spectacular, but they are all the same. Unlike some of the other parks we visited, you turn a corner and are treated to another different more magnificent view. Every view at the Grand Canyon is basically the same. It's magnificent, don't get me wrong, it's just...grand.
This also means, that because everything is so big, it's hard to zero in on the smaller details. {my third beef} You can see a California Condor, one of the largest North American land birds, and it looks like a small crow. There's plenty of wildlife that makes its home on the cliffs and around the canyon, but standing on the edge, it's hard to zero in on anything. The Grand Canyon is so significant that everything else is insignificant.
All that to say, we hopped on the shuttle bus, cut our visit to the Village short, and left the park to get in some pool time.
Mather Point for Stargazing
We did return later in the evening for some stargazing. Many of the National Parks provide optimal stargazing opportunities. We asked around, and most people said that the safety of the completely railed-off area at Mather Point would be our best bet for stargazing.
Two tips:
Drop a pin so you can easily find your car again as you leave the park. It's extremely disorienting and in an effort to walk back safely to your car {and not fall off a sheer cliff in the dark}, drop a pin so you can navigate back safely.
Check the moon. We couldn't believe how incredibly bright the moon was. It cast off so much light that stargazing was actually difficult. You make the call, just know that depending on the brightness of the moon, you may see more or less.
Sunrise Hike on South Kaibab Trailhead to Oh Ah Point
A volunteer we met at the museum the previous day, actually suggested this sunrise hike. It's about a half a mile down into the canyon and has the most magnificent views of the sun as it comes up over the canyon.
The only way to access the trailhead is on the park shuttle. You might think you are the only person waking up early for sunrise, but you are not. The shuttle is full early on and runs every half an hour beginning an hour before sunrise.
That said, the drivers don't really care if they are on schedule or not. You'd think that one of the first buses of the day would be running on time. It was not.
Hiking down into the Grand Canyon, it's not uncommon to see people running with full day packs down the steep terrain. Most people know it will take them some time to make it back up and have a full day ahead of them. We actually had a long drive back to Las Vegas and a flight to catch, so we were limited on time in the morning.
We easily made it down to Oh Ah point in about 15 minutes. There are a few rocks on the edge that provide a good place to sit and watch the sun come up. It is quite beautiful watching the rocks change color and seeing the park light up. You can also glance down and see all the other trails curving around the canyon as hikers descend for the day.
Some of the lower trails seemed so close, and I questioned going just a little bit further on a hike down. Just remember the rangers guide for hiking into the canyon and double that time as the time it will take you to come back up. Huffing and puffing, we thought we were in pretty good shape, but the Grand Canyon will humble you.
We all were grateful we woke up at 4:30 am for sunrise. Even the teenager. The Rim "hike" we did the day before was a bit disappointing so doing the Oh Ah Point hike, even a short distance into the canyon, felt like we actually got a hike in while we were at the Grand Canyon.
How Many Days in Grand Canyon is Enough?
This was echoed multiple times by multiple people we talked to on our road trip. One day in the Grand Canyon is more than enough! Of all the parks, it's the most crowded and really was the most overwhelming. Off the beaten path, it is not. And the views are amazing, but all the same. At some of the other parks we were at, you'd walk around a corner and the view was totally different. The Grand Canyon was just that...a grand canyon. And every view felt the same. Do yourself a favor and visit. Just don't over-plan for this area. Day 8: Hoover Dam
After our sunrise hike, we checked out of our hotel around 9 am and headed towards the Grand Canyon. I attempted to get Starbucks {they are much fewer and farther between than they are in the PNW!} and had to hop out of line after 15 minutes since the line just wasn't moving. Not to worry, there's another location 159 miles away {only kidding...I have no idea how far away it is.}.
Since we were driving right past/through we decided to make a detour at the Hoover Dam. But only if we had time. We ended up making pretty good time and decided to take about 25 minutes to explore.
25 minutes, my friends, is exactly how much time you need to explore the Hoover Dam. It was 92 degrees and after driving over the dam, we found {free} parking and walked over to the sidewalks to the various observation areas.
The Hoover Dam is on the way back to the airport and is a good mini-detour. Take some time before {or after} you stop to read some facts about it. It's kind of an impressive structure.
Looking to Expand Your Trip?
Add in these Parks!
Arches National Park
Canyonlands National Park
Mesa Verde National Park
Some Additional Tips if Traveling with Teens
Add in some chill time
We could have left early to drive to our next destination, or started our hikes earlier, but sometimes you just need to add in some chill time. Hang out by the pool, sleep in, cross something off your list just to hang. You don't have to do all.the.things. especially when traveling with teens. They will enjoy the trip more if you don't.
Book hotels that have more space
Our biggest tip when traveling with teens is to make sure teens have their own space when possible. You don't want to be cramped in a room if you don't have to be.
Take time to plug in
Cell service is often non-existent in the areas on this road trip. Make sure teens have a chance to reconnect with their friends when they do have cell service through WiFi at your local hotel.
This isn't a road trip I would take with younger kids, but it was the perfect trip to take with teenagers! I hope you find this 7-day Ultimate Southwest Road Trip™ as enjoyable as we did!
 disclaimer: this post may have affiliate links. By clicking on them and purchasing through them, I may receive a small commission. These small purchases help me to continue to keep writing content and creating at Rachel Teodoro. Thank you!
loading..











No comments
Post a Comment